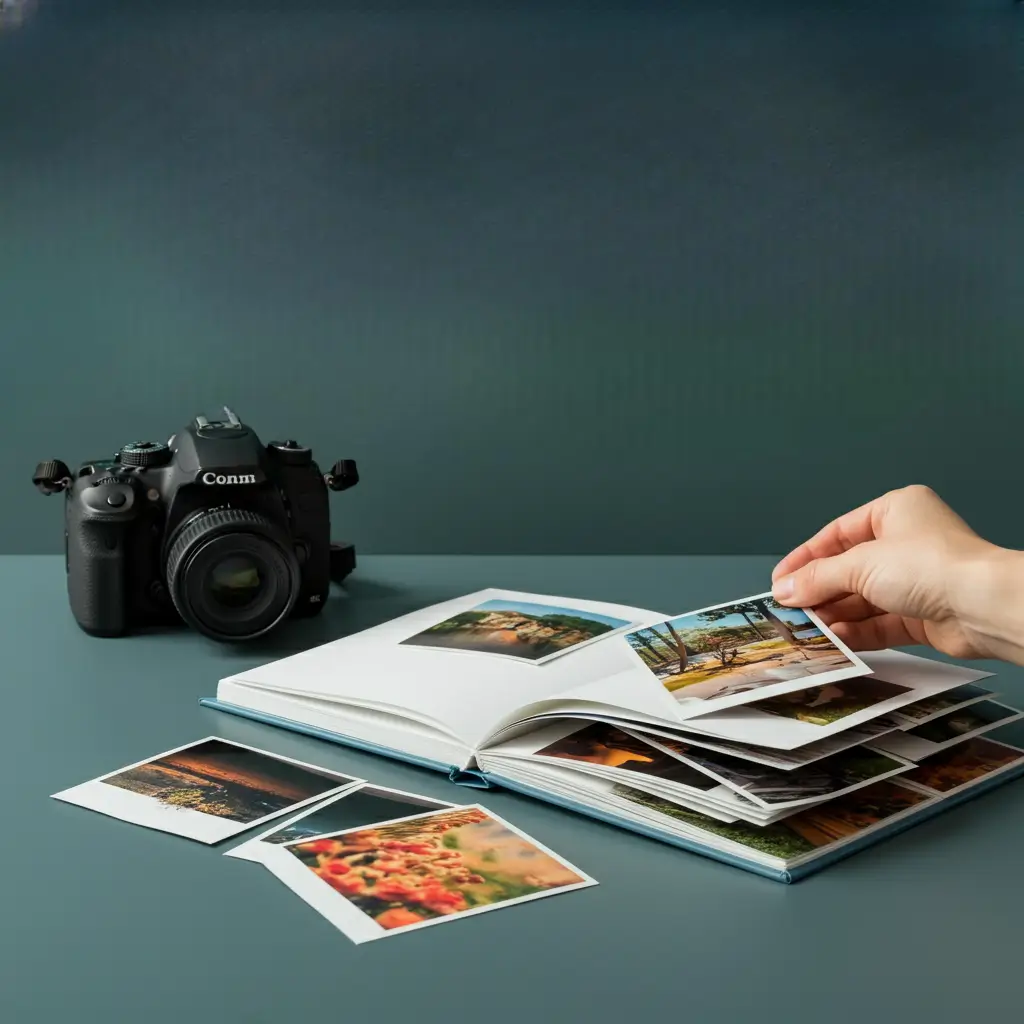
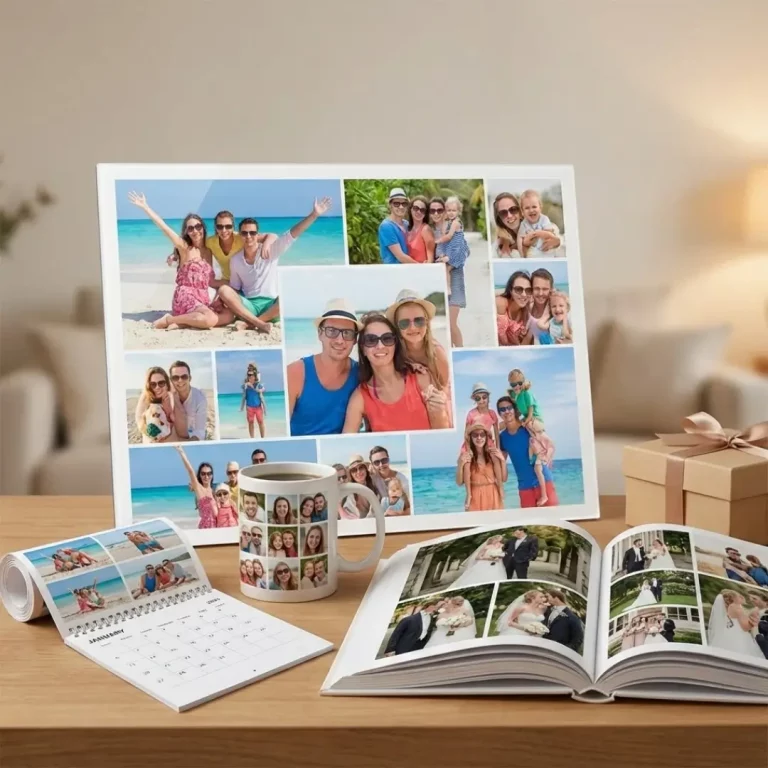
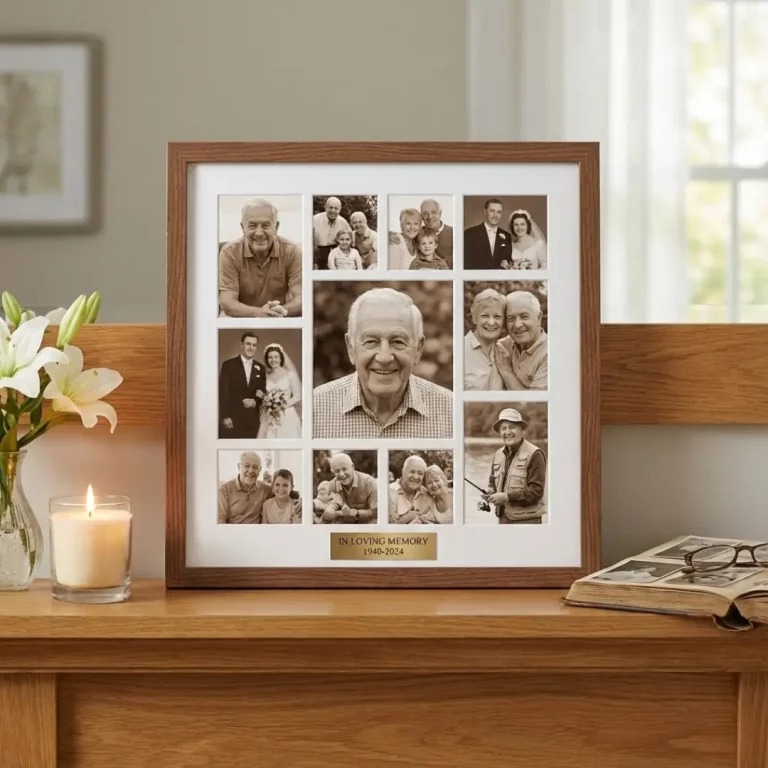
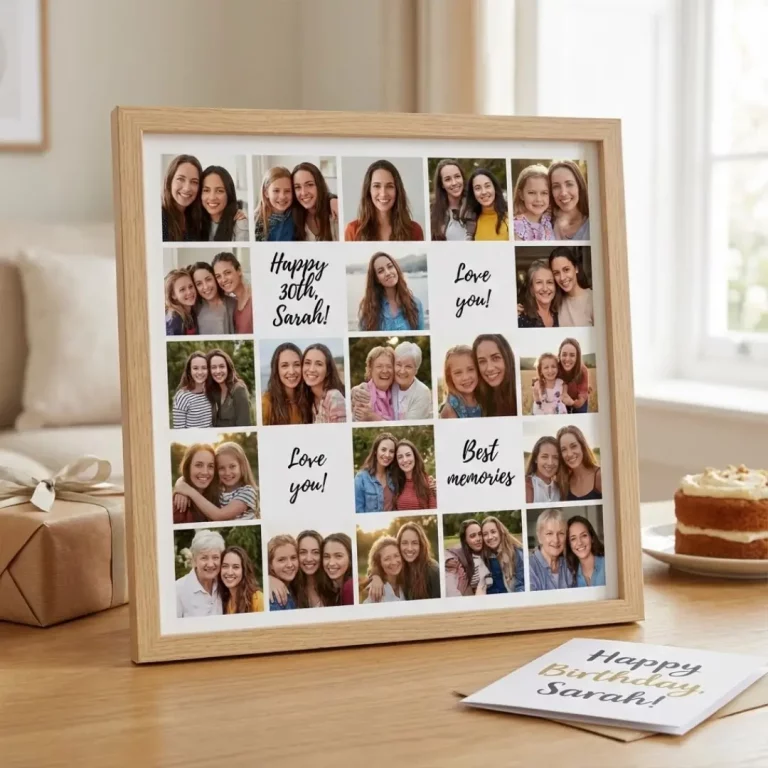
Creating a stunning photobook starts with picking the right pictures. With thousands of photos stored on our devices, choosing which ones to print can feel overwhelming. You might get stuck scrolling through camera rolls wondering which images deserve a spot on the page. In this guide, we’ll tackle the tough part for you: how to choose photos for photobook so each one tells a story, sparks emotion, and looks great in print. You’ll learn how to define a theme, curate images, assess photo quality, and arrange them for maximum impact. Plus, we’ll share tips on using Teoprint’s tools and services to bring your album to life. By the end, you’ll have a clear plan for selecting photos that make your photobook unforgettable.
1. Start with a Story or Theme
Define Your Occasion
Begin by deciding the purpose of your photobook. Is it a wedding keepsake, a travel journal, a year-in-review, or a baby’s first-year story? Pinpointing an occasion or theme is crucial. For example, a travel album might focus on landscapes and local culture, while a wedding book highlights the couple and guests. By defining an occasion, you give direction to your photo choices.
Choose a Narrative Structure
Once you have a theme, think about the story you want to tell. Common approaches are chronological (a timeline of events) or thematic (grouping images by subject or mood). For instance, a chronological album might show a vacation day-by-day, while a thematic album might mix all beach scenes together. The key is consistency: decide whether you want to take readers on a chronological journey or a more creative, thematic route.
Set the Emotional Tone
Consider the vibe you want. Do you want your photobook to feel nostalgic, festive, or romantic? This affects photo selection. Choose images that match that mood. If it’s a family album meant to warm the heart, pick pictures with genuine smiles and candid moments. The art of storytelling through images is about choosing photos that spark emotion. For example, include a close-up of grandparents hugging or kids playing – shots that pull readers into the moment.
2. Curate and Organize Your Images
Gather All Your Photos in One Place
Start by collecting relevant pictures. Pull photos from phones, cameras, social media, and other sources. Centralize them into folders on your computer or cloud storage to avoid missing any gems. Tagging or labeling folders by event/date can help too (e.g., “2024_ParisTrip” or “July_4th_Picnic”).
Eliminate the Blurry and Duplicates
With your photos gathered, it’s time to cull. Remove obvious non-starters: blurry, out-of-focus, or dark images. Experts advise weeding out shots where the subject is hard to see or grainy in low light. Next, remove duplicate or similar shots. If you have ten near-identical group photos, choose the single best one or two to represent the moment. This prevents your book from feeling repetitive and helps keep it uncluttered.
Use Smart Tools and AI to Sort Faster
Consider using photo-organizing tools. Modern AI-powered apps can analyze and cluster your images by date, location, or faces. For example, AI photobook tools automatically group related photos into events (like “grandma’s birthday” or “hiking trip”) and flag blurry or low-quality images for removal. If you’re overwhelmed by sheer volume, this is a game-changer: skip the tedium and let technology narrow down your best shots.
Create Shortlists for Each Chapter
Once you’ve pruned, make a shortlist. Create sub-folders for different parts of your story (e.g., “ceremony”, “reception”, “travel scenery”, “portraits”, “fun moments”). Aim for variety: include wide shots, medium shots, and close-ups. Focus on one key shot for each event or subject – make it the hero image of that section. Then add 1–3 supporting shots that give context or detail. This way, every page has a clear focal point and supports your narrative without overcrowding.
3. Pick High-Quality, Print-Worthy Photos
Prioritize Resolution and Clarity
Not all digital photos print well. As Artifact Uprising recommends, if two pictures are similar, choose the one with higher resolution. Aim for at least 300 DPI resolution for sharp prints; anything below 150 DPI may look pixelated. If photos were sent via text or social media, find the original file or use high-quality sources like Dropbox or Google Photos to get a better resolution.
Avoid Low-Light or Washed-Out Shots
Dark or underexposed photos often lose detail when printed. Weed out images where subjects are hard to see. If a photo is too dim but essential, consider editing it (increasing brightness or contrast) to salvage it before printing. Similarly, check for overexposed shots where bright areas have no detail, and exclude or adjust those. The goal is to have every photo crisp and clear on the page.
Ensure Good Composition
Good photobook photos aren’t just about clarity—they should be well-composed. Use the Rule of Thirds: position the subject off-center for a dynamic shot. Include a mix of perspectives: wide “scene-setting” shots, portraits or headshots, and detailed close-ups. Variety keeps readers engaged. For instance, in a travel album, mix sweeping landscapes with photos of your friends at a café and close-ups of local food.
Check Aspect Ratios and Orientation
Photobooks allow different layouts. Some pages might be horizontal (landscape) and others vertical (portrait). Organize photos by orientation so you can match them to the right spread. Landscape shots work well for panoramic pages, while portraits fit nicely in single-frame layouts. Teoprint’s editor shows aspect ratios early on, helping you slot each photo into an appropriate layout.
4. Build a Cohesive Narrative
Sequence Your Images
Arrange photos in a logical order that tells the story. Chronological order works well for events: start at the beginning of the story and end with the finale. Alternatively, build the story with thematic flow: group photos by subject or feeling. For example, a wedding book might open with “preparations,” flow into “ceremony,” then “celebration.” Each cluster becomes a mini-chapter. Consistency in sequencing helps readers follow along easily.
Start and End with Impact
Lead with a standout photo to hook the reader. This might be the most vibrant shot of the event or a striking portrait. Similarly, end with a memorable closing photo—perhaps a family group shot or a heartfelt moment—to give closure. These bookends leave a lasting impression and tie the album together.
Maintain Visual Consistency
To keep the story feeling unified, look for visual ties between photos. You can do this by keeping similar filters or color palettes across the book. If some photos are black & white and others color, decide if mixing works or if you’d rather convert all to one style. A consistent look makes the album feel professional. Teoprint lets you apply filters or adjust tones within the editor for a uniform feel.
Use Captions or Notes Wisely
Adding brief captions or dates under photos can clarify the story, but don’t overdo it. Short labels like “Summer 2024 Road Trip” or “Grandma’s 80th Birthday” provide context. Keep text minimal so it complements rather than distracts. The focus should be the images themselves; use words to enhance, not overpower.
5. Leverage Photobook Design Features
Choose the Right Book Style
Teoprint offers a variety of photobook formats. For panoramic memories (like landscapes or group shots), layflat albums are ideal. They open fully flat across two pages, letting a single photo span both pages without a middle crease. This way, a wide shot flows seamlessly. The layflat design is perfect for wedding spreads, family portraits, or big travel vistas because it gives your best shots room to shine.
Design Eye-Catching Covers
Your cover is the first thing people see. Consider using one of your strongest photos on the cover (if the design allows), or a custom illustration/texture. Teoprint’s custom covers can be personalized with foil stamping, embossing, or unique artwork (see their Latest Trends in Photobook Designs for inspiration). An artistic cover sets the tone and turns your album into a cherished keepsake.
Add Creative Layouts and Collages
Don’t shy away from collage pages. If multiple smaller shots belong together (like a series of food photos from a trip), you can arrange them in a dynamic grid or collage. This packs more story into one page. Learn more about creative collage ideas in our guide to custom picture collages. Even in a traditional album, a collage-style spread can break up monotony and add visual interest.
Interactive and Technological Enhancements
For a cutting-edge twist, Teoprint supports things like QR code inserts or AR integration. While picking photos, keep in mind you could link a video or slideshow via a small QR code next to an image. If you’re tech-savvy, check out our articles on AR-enabled photobooks.These features extend the photo story beyond the page, but even without them, a well-designed physical album is highly impactful. eAlbum offers QR code for digital photo album.
Preview Your Layout
Use Teoprint’s online editor to drag and drop your shortlisted images into different templates. Seeing images together on the page often reveals what works and what doesn’t. Sometimes a great photo might not fit the flow, or you notice a missing piece. Tweak and replace as needed. A little trial and error in preview will ensure every photo earns its spot.
6. Teoprint’s Services and Quality Assurance
Remember, Teoprint is here to help make your photobook look amazing. Their service uses high-quality print techniques and premium materials, so your chosen photos will pop with vibrant color and sharp detail. For example, their layflat albums use thick archival paper that feels luxurious. If you find two similar photos, Teoprint’s editor will even warn you if resolution is too low (just like Artifact Uprising’s advice).
Here are some quick pointers:
- Resolution Check: Before ordering, Teoprint flags any low-res images so you can swap them out.
- Layout Inspiration: Browse Teoprint’s [photobook ideas page] to see themes for events like weddings or travel. These examples can spark ideas on which photos to choose.
- Cover Options: Explore custom cover materials—linens, leathers, or photo-wrapped covers—to complement the style of your pictures.
- Customer Support: If you ever feel stuck, Teoprint’s design team can provide feedback. They know photobooks inside out and can suggest better photo placement or design tweaks.
By taking advantage of these features, you ensure your carefully selected photos are presented at their best.
7. Bringing It All Together
Selecting photos is an art and a strategy. As you finalize your choices, ask yourself: Does each photo serve the story? Is it the best representation of that moment? If the answer is yes, it belongs in the book. Remember Stacey Wiseman’s strategy: pick a message for each set of photos, then arrange the hierarchy. This ensures every photo has purpose.
Always double-check image quality: print previews (and test prints, if possible) can reveal if a photo looks off. Use Teoprint’s editing tools to crop or adjust lighting. And don’t hesitate to replace a good photo with a great one if it fits better – your photobook is the best way to cherish those best moments, not every moment.
Actionable Insights: Steps to the Perfect Photobook
- Step 1: Set Your Theme & Story. Decide what memories you’re capturing (wedding, birthday, travel) and outline a story arc (chronological journey or thematic chapters).
- Step 2: Consolidate Photos. Gather all relevant pics in one place. Sort them by event or date in folders.
- Step 3: Initial Culling. Delete blurry, dark, or duplicate shots. Keep only the sharpest, most meaningful images. Use tools or apps (like Google Photos, Lightroom, or AI-curation services) to help filter.
- Step 4: Pick Your “Star” Images. Choose 1–2 hero photos for each key moment. Then select 1–3 complementary photos. Look for variety in composition: mix wide scenes, mid-shots, and close-ups.
- Step 5: Edit for Clarity. Adjust brightness, crop for better framing, and ensure colors look natural. If needed, swap out a low-res pic for a higher-res alternative.
- Step 6: Arrange & Preview. Drag photos into Teoprint’s layout templates. Shuffle images around until the flow feels right. Preview the entire album, checking for pacing and consistency.
- Step 7: Use Expert Tools. Try Teoprint’s design features like collage layouts, and consider special options like layflat binding for panoramas.
- Step 8: Final Proof. Review every page. Share a draft with family or friends for feedback. When everything looks perfect, publish your project and let Teoprint print it in gorgeous quality.
Recommended Tools and Resources
- Organization Apps: Smart Selection, Adobe Lightroom, Google Photos, or Apple Photos can help sort and identify top shots.
- Duplicate Cleaners: VisiPics, Gemini 2, or built-in features in Photos apps detect and remove similar shots.
- Printing Tools: Besides Teoprint’s editor, tools like Canva or Shutterfly’s layout tool can inspire design, but Teoprint’s specialized photobook platform ensures best print results.
- Inspiration: Browse Teoprint’s blog for ideas on layouts and creative covers, or check photography forums and Pinterest for album layouts you love.
Conclusion
Choosing photos for your photobook is a crucial step that turns a collection of snapshots into a cohesive story. By defining a clear theme, carefully curating your favorites, ensuring high quality, and sequencing them thoughtfully, you create an album that’s more than just pages—it’s a journey through your memories. Remember, less is often more: edit ruthlessly to keep only the images that matter most.
With the right approach and Teoprint’s expert printing, your photobook will shine. It will not only showcase beautiful images but also evoke the emotions of those moments for years to come. Now that you know how to pick the perfect photos, it’s time to design your keepsake! Start your Teoprint photobook project today and turn your precious memories into a tangible treasure.

