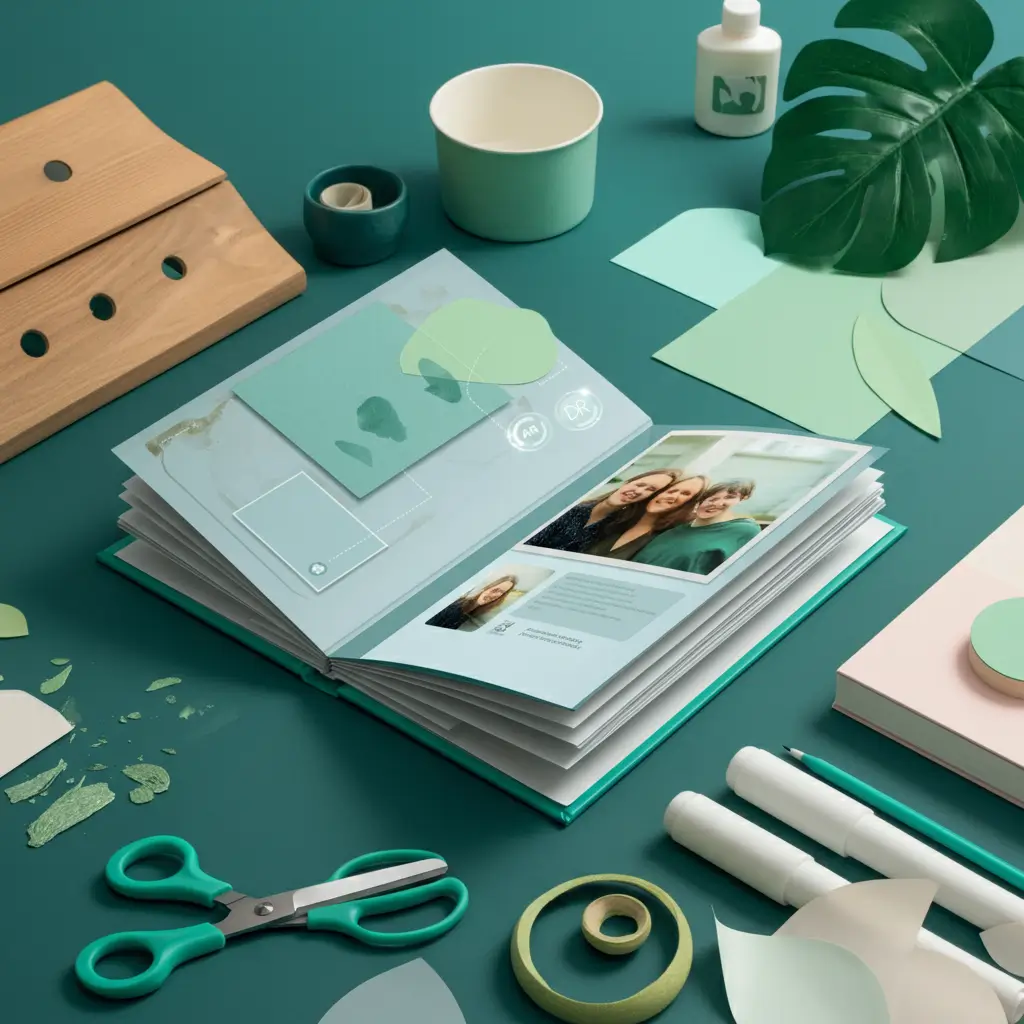
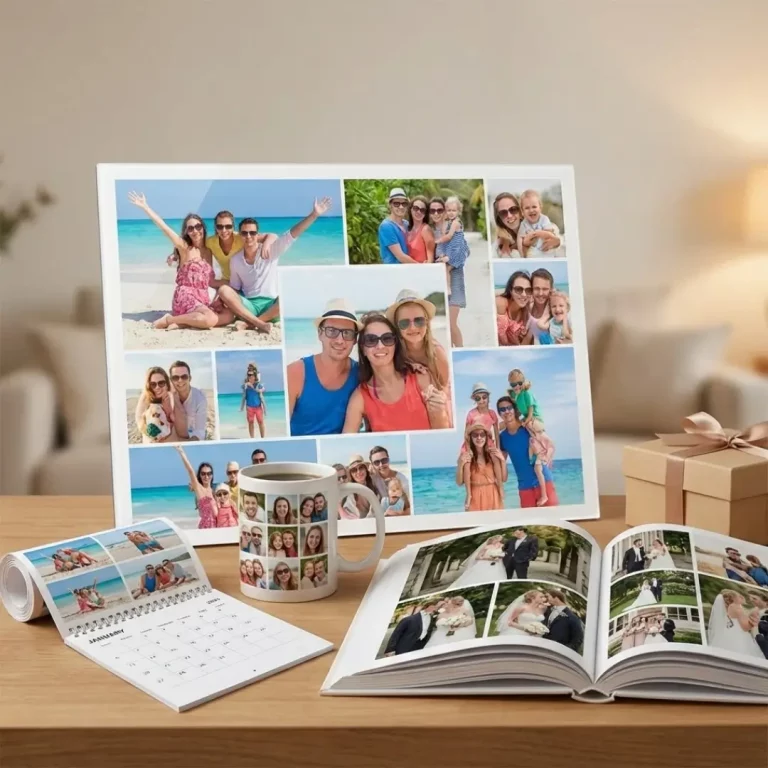
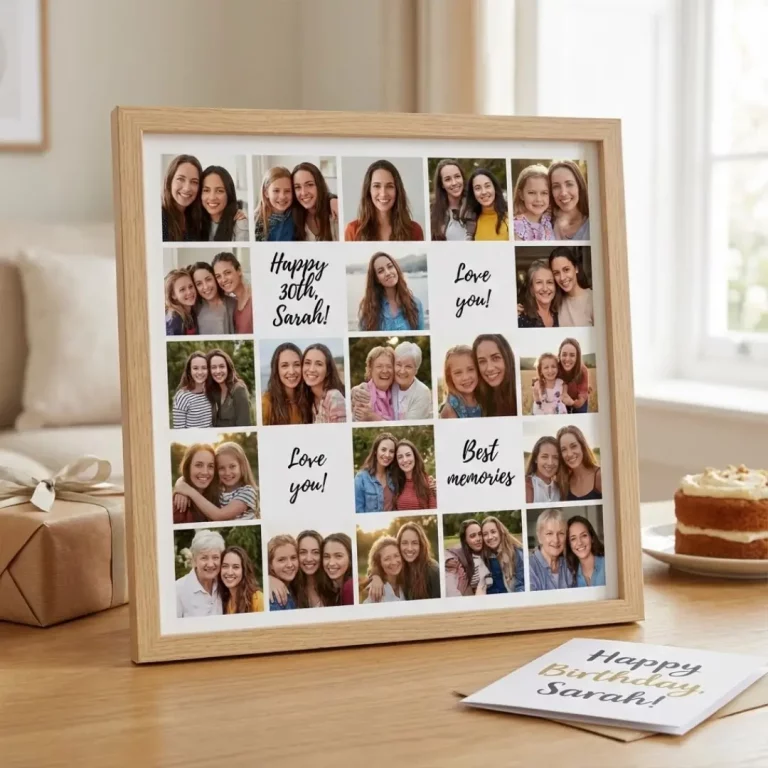
Creating a photobook is more than just preserving memories. It’s about crafting a personal narrative, blending storytelling with design. With the rise of cutting-edge tools, eco-conscious materials, and sleek customization options, 2025 offers exciting opportunities to take your photobook game to the next level. But where do you start? And how can you make your photobook interactive, engaging, and timeless?
This guide will walk you through everything you need to know about interactive photobook DIY. From the latest trends in photobook design to actionable steps, we’ll equip you with the knowledge and tools to create a beautiful, meaningful photobook that’s uniquely yours.
Latest Trends in Photobook Design
The photobook industry is undergoing a revolution, fueled by technological advancements, environmental consciousness, and a demand for personalization. These trends are reshaping how we create and experience photobooks.
1. Augmented Reality (AR) Integration
Bring your photos to life with AR! Imagine scanning a page and watching a wedding clip or family vacation video play on your smartphone. Augmented reality adds an interactive element that bridges the physical and digital worlds. Platforms like Reality Composer and Artivive make it possible to layer animated content over your printed photobook.
Why It Matters:
- Enhances storytelling by adding motion and sound to still images.
- Appeals to tech-savvy users and younger audiences.
Pro Tip: Incorporate AR sparingly to maintain balance. Focus on key moments, like milestone celebrations or travel highlights.
2. Eco-Friendly and Sustainable Materials
With 78% of consumers preferring eco-conscious choices, photobook creators are turning to recycled paper, plant-based inks, and biodegradable covers. Companies like Artifact Uprising and Mixbook are at the forefront, offering premium, green options.
Benefits:
- Reduces environmental footprint.
- Adds a tactility that complements timeless designs.
3. Customizable Modular Layouts
Gone are the days of fixed templates. Modular layouts now allow users to reorganize designs even after printing. Popular features include interchangeable pages, foldouts, and mix-and-match spreads.
Key Features:
- Drag-and-drop modular tools for easy editing.
- Options like layflat binding for panoramic views.
4. Personalized Artistic Covers
Photobooks aren’t just keepsakes; they’re art. Custom covers featuring embossing, metallic accents, or hand-drawn illustrations elevate photobook design. Artistic covers set the tone for what’s inside and make them display-worthy.
5. AI-Assisted Design Tools
Artificial Intelligence simplifies photobook creation. Platforms like Canva and Shutterfly offer AI tools that automatically sort photos, suggest layouts, and even apply color harmonization.
Advantages:
- Saves time by reducing manual design work.
- Ensures a cohesive, polished look.
Step-by-Step Guide to Creating an Interactive Photobook
Transforming your vision into a tangible, interactive photobook may feel daunting, but breaking it into steps can make the process easier.
Step 1. Plan Your Vision
Start with the story you want to tell. Is it a year-in-review book, a wedding album, or a family vacation keepsake? Write down key themes and moments to include.
Pro Tips:
- Organize your thoughts using a mood board. Platforms like Pinterest are invaluable for inspiration.
- Decide early whether you’ll incorporate interactive elements like AR or QR codes.
Step 2. Select and Organize Photos
Choosing the perfect photos is arguably the most important (and time-consuming) task. Use these strategies to streamline the process:
- Sort by Event or Theme: Group photos by occasion or subject.
- Focus on Quality: Prioritize high-resolution images to ensure sharp printing.
- Use Tools: Tools like Google Photos or Mixbook’s AI can automatically filter and categorize images.
Checklist for Photo Selection:
- Are faces and key elements well-lit?
- Does the photo evoke emotion or tell a story?
- Avoid duplicates or similar shots.
Step 3. Choose the Right Tool
Different platforms serve different needs in terms of features, ease of use, and pricing. Here are three standout options:
| Platform | Best For | Key Features |
| Mixbook | Quick and creative projects | Automated layouts, AR integration, mobile app |
| Canva | Maximum customization | Drag-and-drop editor, AI layout suggestions |
| TeoPrint | Comprehensive photobook options | Variety of materials, custom text, pre-designed themes |
Step 4. Design Your Photobook
Layout Design Tips:
- Start with a minimalistic base like Mixbook’s “Minimal White” theme for versatile customization.
- Use leading lines, grids, and negative space to direct attention.
- Add captions sparingly and keep fonts readable.
For interactive features, embed QR codes linking to photo slideshows, recipes, or travel blogs. Most online platforms provide QR code generation as part of their software tools.
Step 5. Review and Finalize
Before you hit “Order,” review the following:
- Are there typos in captions or dates?
- Do images extend into page margins unintentionally?
- Is your AR or QR code printed clearly?
Double-check printing preferences for paper quality, binding type, and delivery timings.
Creative Design Ideas and Customization Options
Inject personality into your photobook with these creative customization options:
1. Unique Formats
Opt for nontraditional formats like accordion-fold books or scrapbook hybrids. This adds variety to conventional layouts.
2. Color Palette Themes
Color palettes play a huge role in setting the tone. For a travel book, earthy tones like mustard and green pair well with nature photos. Wedding albums often use soft pastels or monochrome schemes.
3. Personalized Annotations
Handwritten notes, inside jokes, or mini-stories next to pictures add character. Use tools like Canva to overlay text in a handwriting font or simply write annotations post-publication.
4. Seasonal and Thematic Add-Ons
Add touches like autumn leaves in fall albums or seashell motifs along pages for summer vacations. Subtle seasonal references tie pages together visually.
Common Mistakes to Avoid
- Overcrowding Pages: Too many photos or excessive text can overwhelm the viewer. Prioritize quality over quantity.
- Ignoring Print Guidelines: Failure to adjust images to recommended DPI or bleeding margins can lead to poor-quality prints.
- Skipping Proofreading: A misspelled name or misplaced date can detract from an otherwise perfect photobook.
Actionable Insights for Your DIY Photobook Journey
- Set a Timeline: Allocate specific days for photo selection, design, and review. Tools like Google Calendar can help.
- Experiment with Templates: Pre-designed templates save time and inspire creativity.
- Use Automation Tools: AI-powered tools simplify cumbersome tasks like photo curation and layout alignment.
- Think Long-Term: Opt for acid-free archival paper to preserve your book for decades.
Resources to Explore:
Final Thoughts
An Interactive Photobook DIY project is one of the most rewarding ways to preserve memories. It’s your chance to blend creativity with storytelling while leveraging modern technology for a cutting-edge result. By following this guide, you’ll be able to create a photobook that’s not just beautiful, but also meaningful and interactive.
Don’t wait for the perfect moment. Start making your interactive photobook today and relish the joy of bringing your memories to life in ways that will leave family, friends, and future generations enthralled.


