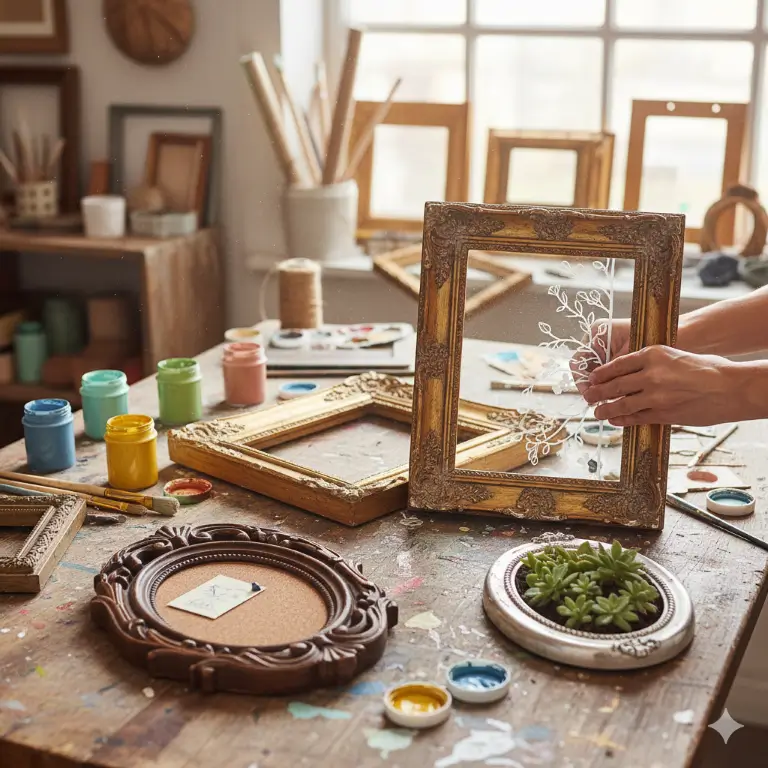
That dusty old frame in your attic or the ornate one you spotted at a thrift store holds more than just potential for a new picture. It holds the promise of a second life. Upcycling, the art of transforming old or discarded items into something new and beautiful, is a wonderful way to breathe life back into forgotten objects. When it comes to vintage frames, their unique character and craftsmanship make them perfect candidates for creative DIY photo frame projects.
Instead of letting these treasures gather dust, you can repurpose them into functional and stylish pieces for your home. This practice is not only sustainable and budget-friendly, but it also allows you to create one-of-a-kind decor that tells a story. From practical organizers to stunning wall art, the possibilities are endless. Let’s explore some inspiring ideas to get your creative juices flowing and turn those old frames into new masterpieces.
The Charm of Vintage Finds
Before we dive into specific projects, let’s appreciate what makes vintage frames so special. Unlike many modern, mass-produced frames, older ones often feature intricate details, unique materials, and a quality of construction that’s hard to find today. The subtle wear and tear, the aged patina on the wood, or the ornate carvings all contribute to a sense of history and charm.
These are the very qualities that make them ideal for DIY photo frame projects. The existing character of the frame becomes a feature of your new creation, adding depth and personality that you just can’t buy off a shelf. Whether you find a simple wooden frame or a gilded, baroque-style piece, you have a solid foundation for something amazing. For those interested in the history and appeal of older styles, our article on the growing popularity of vintage and matted photo albums offers more insight.
Creative Ideas for Upcycling Old Frames
Ready to get started? Here are some creative ways to repurpose those old frames and give them a brand-new purpose. These projects vary in complexity, but all offer a fantastic way to add a personal touch to your home decor.
1. Elegant Jewelry Organizer
Tangled necklaces and missing earrings can be a thing of the past. An old frame can be transformed into a beautiful and functional jewelry organizer that doubles as wall decor. This is a classic upcycling project for a reason—it’s simple, useful, and looks fantastic.
How to create it:
- Prepare the frame: Remove the glass and backing from the frame. If the frame is dirty, give it a good cleaning.
- Paint or finish: You can paint the frame in a color that complements your room. A light sanding beforehand can help the paint adhere, or you can leave it as-is for a more rustic, shabby-chic look.
- Add a backing: Stretch a piece of decorative metal mesh, lace, or even burlap across the opening and secure it to the back of the frame with a staple gun.
- Install hooks: Screw small hooks along the bottom edge of the frame for hanging necklaces and bracelets. For earrings, you can simply push them through the mesh or lace.
This is one of the most popular DIY photo frame projects because it’s both practical and incredibly stylish.
2. Rustic Chalkboard or Memo Board
Turn an old frame into a message center for your kitchen, office, or entryway. A framed chalkboard is perfect for jotting down grocery lists, leaving notes for family, or displaying an inspirational quote.
How to create it:
- Create the surface: Get a thin piece of plywood or MDF cut to fit inside the frame. Paint it with several coats of chalkboard paint, allowing each coat to dry completely. For a different twist, you could use a corkboard for a pinboard or even a piece of sheet metal for a magnetic board.
- Season the chalkboard: Once dry, season the surface by rubbing the side of a piece of chalk all over it and then wiping it clean with a dry cloth. This prevents the first words you write from being permanently “burned” into the surface.
- Assemble: Secure the board into the frame, and it’s ready to hang.
This project gives an old frame a new, interactive purpose that your whole family can use and enjoy.
3. Unique Shadow Box Display
Think beyond just holding a flat picture. An empty frame, especially a deep-set one, can be used to showcase three-dimensional objects, creating a stunning shadow box effect. This is a wonderful way to display cherished keepsakes.
How to create it:
- Find a deep-set frame: If your frame is shallow, you can build up the back with small wood pieces to create more depth. Our ultimate shadow box frame guide offers more tips on this.
- Line the back: Cover the backing board with decorative paper, fabric, or even a meaningful map.
- Arrange your objects: This could be anything from seashells collected on vacation, vintage keys, your child’s first pair of shoes, or concert tickets.
- Secure everything: Use a strong adhesive like a hot glue gun or E6000 to keep the items in place.
This project transforms memories into a tangible piece of art, making it a deeply personal decor item and a fantastic conversation starter.
4. A Frame for Your Greenery
Bring a touch of nature indoors by creating a vertical succulent garden or a holder for air plants. This living art is a fresh and modern take on wall decor.
How to create it:
- Build a box: Construct a shallow box on the back of your frame to hold soil.
- Line and prepare: Line the box with plastic sheeting, then add a layer of mesh (like chicken wire) stapled tightly over the top.
- Plant: Fill the box with cactus or succulent soil and carefully plant small succulents through the openings in the mesh.
- For air plants: An even simpler option is to string wire across the back of an empty frame and nestle the air plants within the wires.
This is one of the more unique DIY photo frame projects that adds a vibrant, natural element to any room.
5. Decorative Serving Tray
With a few additions, a sturdy old picture frame can become an elegant serving tray, perfect for carrying drinks or displaying on a coffee table or ottoman.
How to create it:
- Choose a sturdy frame: Look for one with solid construction.
- Create a solid base: You can use a piece of wood painted in a nice color, a mosaic of tiles, or even a piece of decorative wallpaper placed under a sheet of plexiglass cut to fit.
- Attach handles: Screw decorative cabinet handles or drawer pulls onto two opposite sides of the frame.
- Protect your furniture: Add felt pads to the bottom corners to prevent scratching.
This project is not only creative but also results in a beautiful, functional item for your home.
Unleash Your Creativity
The ideas above are just a starting point. The real beauty of DIY photo frame projects lies in their potential for personalization. Look at the old frames you have, consider the style of your home, and think about what you need. Could that long, narrow frame become a key holder? Could a set of small, matching frames be turned into custom coasters?
Don’t be afraid to experiment with paint, fabric, and different materials. The goal is to have fun and create something you love. For more inspiration on creating eye-catching arrangements on your walls, check out these 12 inspiring DIY photo wall ideas. Upcycling is about seeing potential where others see junk, so let your imagination run wild. We encourage you to raid your storage, visit a local thrift shop, and start your own upcycling adventure.