Introduction
Every family has a story that stretches back through generations. From the faded sepia portraits of great-grandparents to the vibrant digital snapshots of today’s youngest members, these images form a visual timeline of your heritage. However, keeping these memories hidden in dusty albums or scattered across hard drives means their stories often go untold.
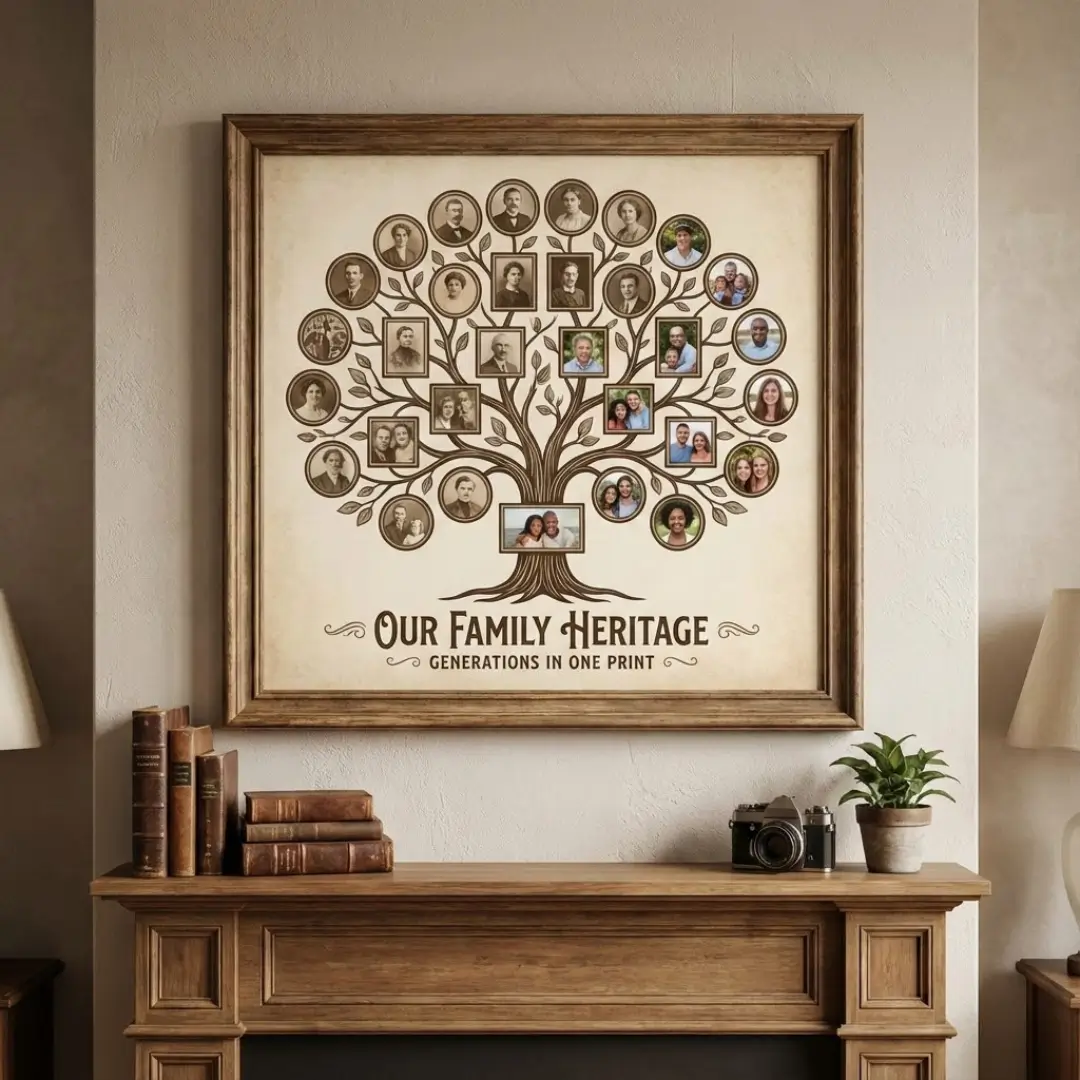
A family tree collage offers a beautiful solution to this problem. Instead of multiple frames cluttering a wall or albums that are rarely opened, you can bring your entire lineage together on a single, breathtaking print. It transforms your genealogy into a piece of art that sparks conversation and keeps your history alive. In this guide, we will walk you through the steps to curate, design, and display a multi-generation collage that honors your roots.
Why Create a Family Tree Collage?
Creating a visual representation of your family history is more than just a decor choice; it is an act of preservation. A family tree collage serves as a daily reminder of where you come from and the people who paved the way.
Here are a few reasons why this format works so well:
- Space-Saving Design: It consolidates dozens of photos into one organized display, perfect for modern homes.
- Educational for Kids: It helps younger generations understand their relationships to relatives they may never have met.
- Emotional Impact: Seeing the physical resemblance between ancestors and current family members is a powerful experience.
- Heirloom Quality: A high-quality print can be passed down, becoming a treasured artifact in itself.
Step 1: Gathering and Organizing Your Photos
The foundation of any great family tree collage is the photography. This step often takes the most time, but it is also the most rewarding. You will need to become a bit of a detective, hunting down images from various sources.
Where to Look
Start by raiding physical photo albums and shoeboxes. Reach out to relatives who might be holding onto old portraits. Don’t forget to check digital archives on old computers or social media.
Digitizing Old Photos
For vintage photos, high-quality digitization is key. You can use a flatbed scanner for the best results or a high-resolution scanning app on your phone. Ensure you scan at a high DPI (dots per inch) so they can be enlarged without losing clarity.
Organizing for the Layout
Once you have your images, organization is crucial. Group them by generation or family branch. If you have a lot of images, learning how to organize photos for a cohesive album story can provide great techniques for sorting your collection before you start designing.
Step 2: Choosing Your Collage Layout Style
How you arrange your family tree collage depends on the aesthetic you want and the number of generations you are including. There is no single “right” way, but there are several popular styles that work well for heritage prints.
The Traditional Tree Structure
This layout mimics a literal tree. The oldest ancestors are placed at the roots or the bottom of the trunk, while subsequent generations branch upwards and outwards. This is a classic choice that clearly visualizes lineage.
The Radial or Fan Chart
In this design, the youngest generation (or the focus person) is in the center circle. Parents, grandparents, and great-grandparents radiate outwards in concentric rings. This is an excellent choice if you want to include a large number of ancestors in a compact space.
The Chronological Grid
For a modern, clean look, a grid layout works wonders. You can arrange photos chronologically from top-left to bottom-right. This linear approach is fantastic for storytelling. If you like this structured look, you might appreciate chronological photo frame wall ideas for storytelling applied to a single print.
Step 3: Design Tips for a Cohesive Look
Mixing black-and-white photos from the 1920s with high-definition color photos from 2025 can look chaotic if not handled correctly. To make your family tree collage look like a unified piece of art, you need a consistent design strategy.
Editing for Consistency
Consider converting all photos to black and white or sepia tone. This instantly unifies images from different eras, removing the distraction of mismatched colors and lighting. It gives the entire piece a timeless, museum-quality feel.
Labeling and Text
Adding names and dates is essential for a genealogy project. Use a clean, legible font. Avoid overly decorative scripts that are hard to read from a distance. Include:
- Full Name
- Birth (and Death) Years
- Relationship title (optional, e.g., “Great-Grandmother”)
Pro-Tip: If you aren’t savvy with design software, you can use online tools. There are many free online photo collage makers that offer templates specifically for family trees.
Step 4: Selecting the Right Material for Your Print
Once your digital design is ready, you need to decide how to print it. The material you choose will affect the durability and visual impact of your family tree collage.
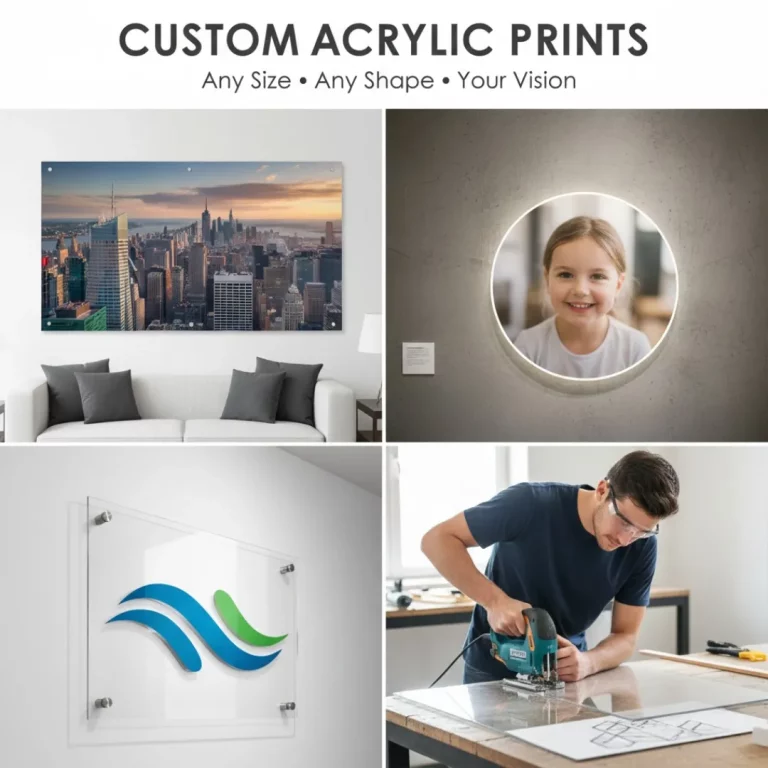
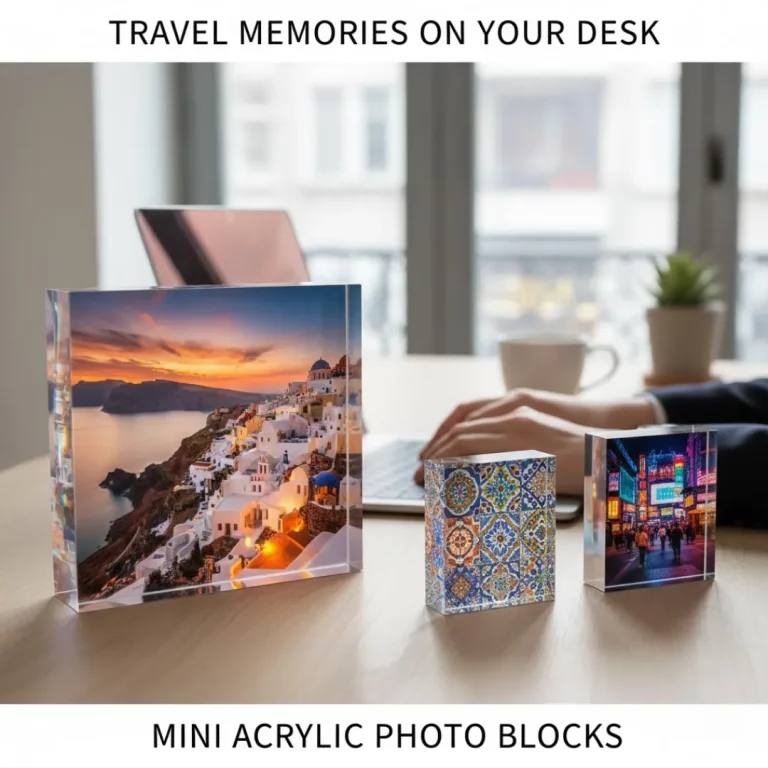
Acrylic Prints
For a sleek, modern look, acrylic is hard to beat. The image is printed directly onto a clear sheet, giving it incredible depth and vibrancy. Acrylic is also durable and resistant to fading, making it perfect for preserving heritage photos. If you want to make a statement, you might consider large acrylic wall art to serve as the centerpiece of a room.
Canvas Prints
Canvas offers a classic, textured look that resembles a painting. It is softer and often feels more traditional, which can suit vintage photos very well. Canvas is also lightweight and easy to hang.
Framed Prints
A traditional paper print inside a high-quality frame is a timeless option. You can choose a frame that matches your furniture or molding. When selecting a frame, knowing how to choose frame colors for your room decor ensures your heritage piece blends seamlessly with your interior style.
Step 5: Displaying Your Heritage Art
Your family tree collage deserves a prominent spot in your home. It shouldn’t be tucked away in a hallway where no one sees it.
Living Room Focal Point
Place it above the sofa or fireplace. This invites guests to look closer and ask questions about your history.
The “Ancestry Wall”
If you have other historical documents or heirlooms, create a gallery wall with your collage as the anchor piece. You can surround it with smaller framed photos or mementos. For layout inspiration, look into how to arrange a wall painting set for maximum impact, as the principles of balance remain the same.
Lighting Matters
Ensure your print is well-lit but not in direct sunlight, which can cause fading over decades (though acrylic offers some UV protection). If you want to highlight the piece, consider installing a picture light above it.
Creative Alternatives for Family Collages
If a strict genealogical tree feels too formal, there are other ways to create a family tree collage that celebrates your heritage.
- The “Then and Now” Collage: Pair photos of ancestors at a certain age with photos of current family members at the same age to highlight family resemblances.
- The Surname Collage: Create a collage in the shape of your family’s initial or surname. This is a highly personalized decor item.
- The Anniversary Tribute: Focus on a specific couple and their descendants. This makes for a perfect gift. You could even create a perfect anniversary photo book as a companion piece to the wall art.
Conclusion
A family tree collage is more than just a decoration; it is a bridge between the past and the future. By gathering your family’s history onto one print, you ensure that the faces and names of those who came before you remain a vibrant part of your daily life.
Whether you choose a sleek acrylic print or a traditional framed design, the result is a meaningful legacy piece. Take the time to gather those photos, curate your layout, and display your heritage with pride. It is a project you—and your future generations—will cherish forever.
Ready to start designing? Explore options to create a stunning photo collage for acrylic printing and bring your family history to life today.
Frequently Asked Questions (FAQs)
Q: How many generations can fit on one family tree collage?
A: It depends on the size of the print and the layout. A standard 24×36 inch print can comfortably hold 4-5 generations (about 30-60 people) if you use small thumbnail images. For larger lineages, consider a fan chart layout or a larger custom size.
Q: What is the best resolution for old scanned photos?
A: Scan your physical photos at a minimum of 300 DPI (dots per inch), but 600 DPI is better if you plan to enlarge them significantly. This ensures your family tree collage looks sharp and professional, not pixelated.
Q: Can I create a family tree collage if I have missing photos?
A: Absolutely. For ancestors where no photo exists, you can use a placeholder icon, a silhouette, or simply list their name and dates in a text box. This keeps the lineage intact without leaving awkward blank spaces.
Q: Is it better to print on canvas or acrylic for old photos?
A: Both work well, but they offer different vibes. Canvas adds texture that complements the vintage feel of old photos. Acrylic provides a sharper, more modern look that can make sepia or black-and-white images pop with high contrast. Learn more about acrylic wall art vs canvas to decide which suits your home best.
Q: How do I arrange a family tree collage for a blended family?
A: Modern families come in all shapes. You can use color-coding to represent different branches or step-parents. A “constellation” or freestyle layout often works better than a rigid tree structure for complex family dynamics, allowing you to place people based on emotional connection rather than strict lineage.
Q: Can I add text to my collage easily?
A: Yes. Most design tools allow you to add text boxes under each photo. Ensure you double-check the spelling of names and accuracy of dates before printing. Using a clear, sans-serif font ensures readability even at smaller sizes.
Q: What makes a family tree collage a good gift?
A: It is highly personalized and sentimental. It shows you put effort into researching and preserving the family history. It is a particularly touching gift for grandparents or for a milestone anniversary, similar to how custom personalized photo frames add a special touch to gift-giving.