Introduction
Canva is a fantastic tool for creating beautiful designs in minutes. Its drag-and-drop interface makes it incredibly easy to arrange your favorite photos into a stunning visual story. But there is a common problem many people face: the beautiful Canva photo collage that looked perfect on screen ends up blurry, pixelated, or discolored when printed.
This frustrating experience happens when digital design settings don’t align with print quality requirements. The vibrant colors on your monitor might not translate well to paper, and the resolution that looks sharp online can appear fuzzy when enlarged.
This guide will walk you through everything you need to know to create a Canva photo collage that prints perfectly every time. We will cover the essential settings, design tricks, and export options to ensure your memories look as good on your wall as they do on your screen.
Setting Up Your Canva Document for Success
The secret to a great print starts before you even add your first photo. Setting up your document correctly is the most critical step.
1. Choose the Right Dimensions
Instead of picking a default template like “Instagram Post,” always use custom dimensions. Think about the final print size. Do you want an 8×10 inch print? A 24×36 inch poster?
To create a custom-sized design:
- On the Canva homepage, click “Custom size.”
- Change the unit from pixels (px) to inches (in) or centimeters (cm).
- Enter the exact width and height you plan to print.
This ensures your design’s aspect ratio is correct from the beginning, preventing awkward cropping later. If you’re unsure about what size to choose, our painting canvas sizes guide can offer some popular dimension ideas.
2. Set the Correct Color Profile
Computer screens use an RGB (Red, Green, Blue) color model, which is bright and vibrant. Professional printers use a CMYK (Cyan, Magenta, Yellow, Black) model. Designing in RGB and printing in CMYK can lead to dull or inaccurate colors.
While Canva’s free version primarily works in RGB, Canva Pro users can download their files in CMYK. If you’re serious about print quality, upgrading for this feature is highly recommended. It ensures the colors you see are closer to what you will get.
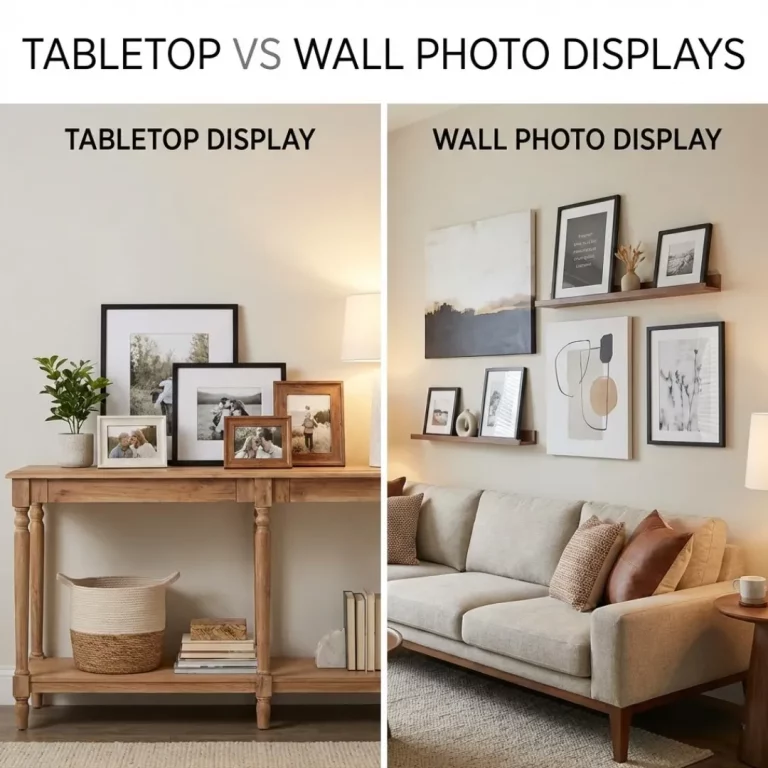
Designing Your Canva Photo Collage: Best Practices
With your canvas set up, it’s time to design. Follow these tips to maintain quality.
Use High-Resolution Photos
This is non-negotiable. A low-quality photo will always result in a low-quality print. As a rule of thumb, your photos should be at least 300 DPI (dots per inch) at the size they will appear in the collage.
How do you check?
- On a computer: Right-click the image file, select “Properties” (PC) or “Get Info” (Mac), and look at the dimensions. A photo with dimensions like 4000 x 3000 pixels is high-resolution. A photo with dimensions like 800 x 600 pixels is not suitable for printing.
- A simple test: Zoom in on your photo within Canva. If it looks blurry or pixelated on your screen when magnified, it will look even worse when printed. If you need better images, there are many sources for high-resolution wall art images you can use.
Leverage Canva’s Grid and Frame Tools
Don’t just place photos randomly. Canva’s “Grids” and “Frames” (found in the “Elements” tab) are your best friends for creating a clean and professional-looking Canva photo collage.
- Grids: These are pre-made layouts that automatically fill your entire canvas. Just search for “Grids” and pick a layout, then drag your photos into the placeholders.
- Frames: These are decorative containers for your photos, like circles, letters, or abstract shapes. They add a creative touch and help you break free from the standard square format.
Using these tools ensures your photos are aligned perfectly without any manual adjustments. You can find inspiration by looking at different creative photo collage ideas that go beyond simple grids.
Don’t Overcrowd Your Design
It’s tempting to squeeze in every photo you have, but less is often more. A collage with too many images can look cluttered and chaotic. The individual photos become too small to appreciate.
For a balanced look:
- Stick to a theme (e.g., a vacation, a color scheme, a person).
- Leave some “negative space” or white space around your photos.
- Vary the size of the photos to create a visual hierarchy.
Exporting Your Collage for High-Quality Printing
You’ve created a beautiful Canva photo collage. Now, let’s make sure you export it correctly. This final step is where many people go wrong.
The Best File Type for Printing
In the “Share” > “Download” menu, you will see several file type options. For printing, the best choice is PDF Print.
- PDF Print: This option exports your file at a high resolution (300 DPI) and is the industry standard for printing. It flattens your images and text to ensure nothing shifts or changes when the printer opens the file.
- PNG: Use this only if you need a transparent background. It’s a high-quality format but can result in very large file sizes.
- JPG: This format compresses your file, which can lead to a loss of quality. It’s great for web use but should be avoided for high-quality printing if possible.
Crucial Export Settings
When you select “PDF Print,” you’ll see a few more options.
| Setting | Recommendation | Why It’s Important |
|---|---|---|
| Crop marks and bleed | Check this box. | Bleed extends your design slightly beyond the trim edge, ensuring no white borders appear after cutting. |
| Flatten PDF | Check this box. | This locks all design elements in place, preventing layers from shifting or fonts from changing. |
| Color Profile | Select CMYK (Canva Pro). | This provides the most accurate color for professional printing. If you have the free version, RGB is your only option. |
After downloading your file, review it one last time. Zoom in to 200% or 300% to check for any obvious pixelation before sending it to the printer.
Conclusion
Creating a print-ready Canva photo collage is easy when you know the right steps. It all comes down to planning your design for its final destination—the printed page. By starting with custom dimensions, using high-resolution photos, and exporting as a “PDF Print” with the correct settings, you can confidently turn your digital creations into tangible art.
Now you have the knowledge to move beyond the screen. Whether you’re making a family photo collage for your living room or a portfolio piece, your prints will look sharp, vibrant, and professional.
Ready to bring your masterpiece to life? Explore our printing services to turn your perfectly designed Canva photo collage into a stunning acrylic print or framed work of art.
Frequently Asked Questions (FAQ)
What is the best resolution for a Canva photo collage?
For printing, your design resolution should be 300 DPI (dots per inch). You can’t set DPI directly in Canva, but choosing “PDF Print” as your download format automatically exports your file at this high resolution. The key is to start with high-resolution source photos.
Why does my Canva collage look blurry when I print it?
This is usually caused by one of three things: 1) your original photos were low-resolution, 2) you used a small canvas size and enlarged it for printing, or 3) you downloaded the file as a low-quality JPG instead of a PDF Print.
Can I print a collage made with the free version of Canva?
Yes, you can. The main limitation is the lack of a CMYK color profile option, which means your printed colors might look slightly different from what you saw on screen. However, by exporting as a PDF Print, you can still achieve a sharp, high-resolution result. Many free online photo collage makers have similar limitations.
What is “bleed” in Canva and do I need it?
Bleed is a small margin of your design that extends past the trim line. It’s essential for professional printing because it prevents a white border from appearing if the cutting machine is slightly off. Always check the “Crop marks and bleed” box when downloading your file for printing.
How do I know if my photos are high enough quality?
A simple test is to drag the photo into your Canva design and zoom in. If it looks sharp and clear when magnified on your screen, it’s likely good enough for print. If it looks fuzzy or “blocky,” you should find a higher-quality version. It helps to organize your digital photos for printing and separate the high-resolution files from the low-resolution ones.
Can I add text to my Canva photo collage?
Absolutely. Canva has a robust text tool with hundreds of fonts. When exporting as a “PDF Print” with the “Flatten PDF” option checked, your text will be converted into part of the image, ensuring the font appears correctly even if the printer doesn’t have it installed.
Should I choose a glossy or matte finish for my collage print?
This is a matter of personal preference. A glossy finish makes colors pop and looks vibrant, but it can create glare. A matte finish has a more subtle, artistic feel with no reflections. Consider where you’ll hang the print; a room with bright, direct light may be better suited for a matte finish.