You have a photo that you absolutely love. It’s not a standard 4×6 or 8×10; maybe it’s a super-wide panoramic shot of a sunset or a portrait that would look amazing as a circle. But when you look at standard printing options, you’re stuck with a frustrating set of rectangles. You are forced to either crop your beautiful image awkwardly or give up on printing it altogether.
This limitation is why so many incredible photos never make it onto our walls. The good news is that you don’t have to be confined by standard sizes. With modern printing technology, it’s easier than ever to order custom acrylic prints that fit your exact vision, no matter the size or shape.
Whether you want a giant print to serve as a focal point or a unique, die-cut shape to match your decor, this guide will walk you through the process. We will cover how to prepare your file, what options are available, and how to order a piece that is truly one-of-a-kind.
Why Choose Custom Acrylic Prints?
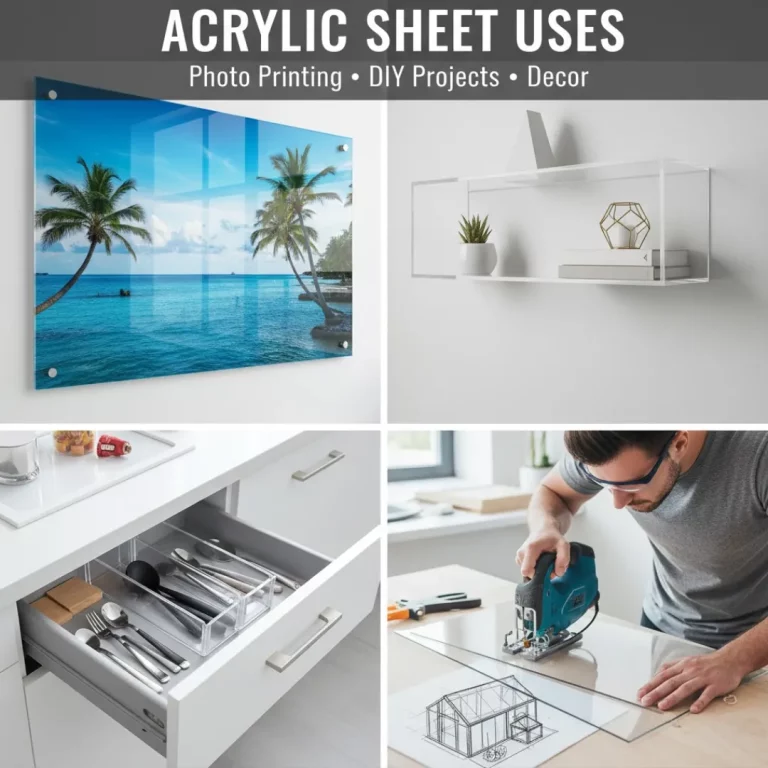
Before we get into the “how,” let’s talk about the “why.” Acrylic prints offer a premium look that other materials can’t match. Your photo is printed on or mounted behind a sheet of clear acrylic, which creates a stunning depth and vibrancy. The light refracts through the material, making the image appear to glow.
The real advantage of custom acrylic prints is the freedom they offer.
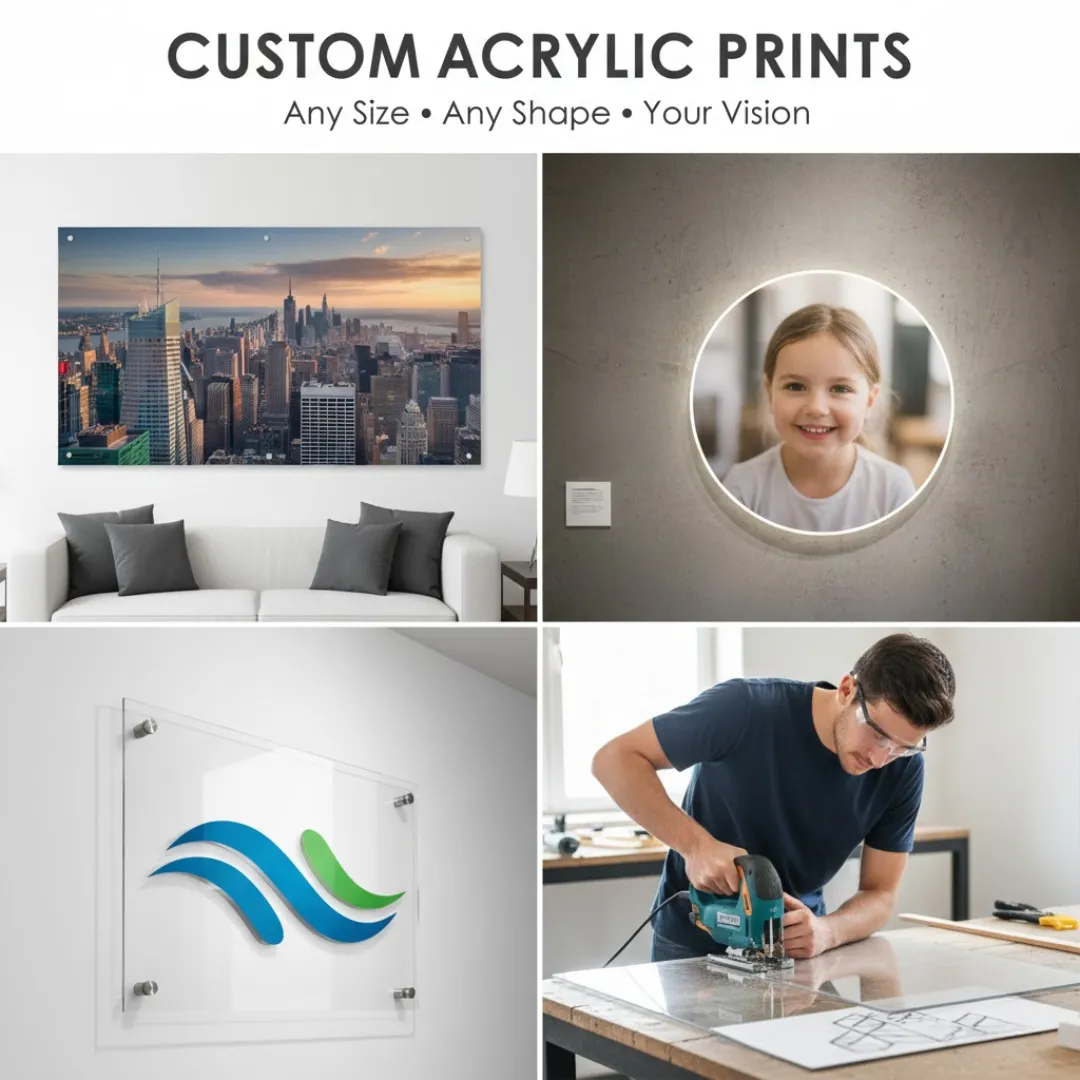
- Unique Sizing: Fit a print perfectly into an awkward space, like a narrow hallway or above a wide sofa.
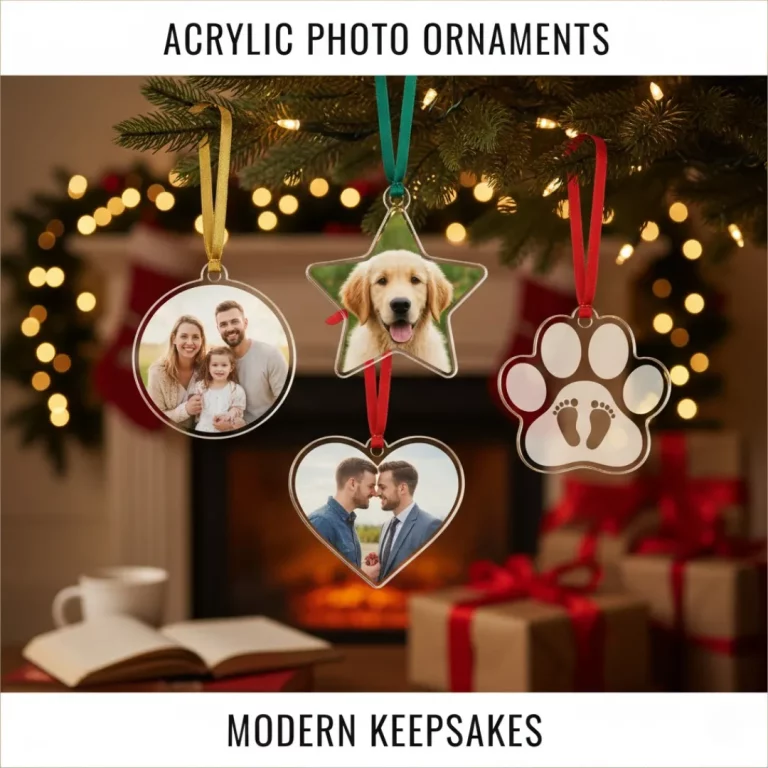
- Creative Shapes: Go beyond the rectangle with circles, ovals, hexagons, or even shapes that follow the outline of your subject.
- Endless Possibilities: Create a print that is as unique as the photo itself, turning your wall art into a true conversation piece.
Step 1: Preparing Your Photo for Custom Printing
The quality of your final print starts with the quality of your digital file. For custom orders, this step is especially critical.
Resolution is Everything
When you order custom acrylic prints, especially large ones, your image needs to be high resolution. A low-resolution photo will look pixelated and blurry when blown up.
- Check the DPI: Aim for a file that is at least 150 DPI (Dots Per Inch) at the final print size, with 300 DPI being ideal.
- Use Original Files: Always use the original photo file from your camera or phone. Images saved from social media are heavily compressed and are not suitable for printing.
Cropping for Custom Dimensions
Most printing services have online tools that let you upload your image and set your custom dimensions. As you adjust the size, the tool will show you how the image will be cropped. Pay close attention to this preview to ensure no important parts of your photo are cut off. Some advanced tools even let you create collages, but using a dedicated program like one of the top 5 free online photo collage makers for 2025 can give you more control.
Preparing for Custom Shapes
If you want a die-cut shape (like a circle or a custom silhouette), the process is a bit more involved.
- Use Editing Software: You will likely need to use a program like Adobe Photoshop or Canva to place your image on a transparent background.
- Provide a Cut Line: Some printers may require you to provide a vector path (or “cut line”) in your file that tells their laser cutter where to cut. This is often an option for professional designers or those with graphic design skills. For simpler shapes like circles or ovals, the printing service’s online tool usually handles this for you.
Step 2: Choosing Your Custom Options
Once your file is ready, you’ll need to make a few decisions about the print itself. A quality printing service, similar to the best photobook print quality platforms in 2025, will offer a range of choices.
Thickness of the Acrylic
The thickness of the acrylic sheet affects both the look and the price of your print.
- 1/8″ or 1/4″: The most common thicknesses for wall-mounted prints. They are lightweight and have a sleek, modern profile.
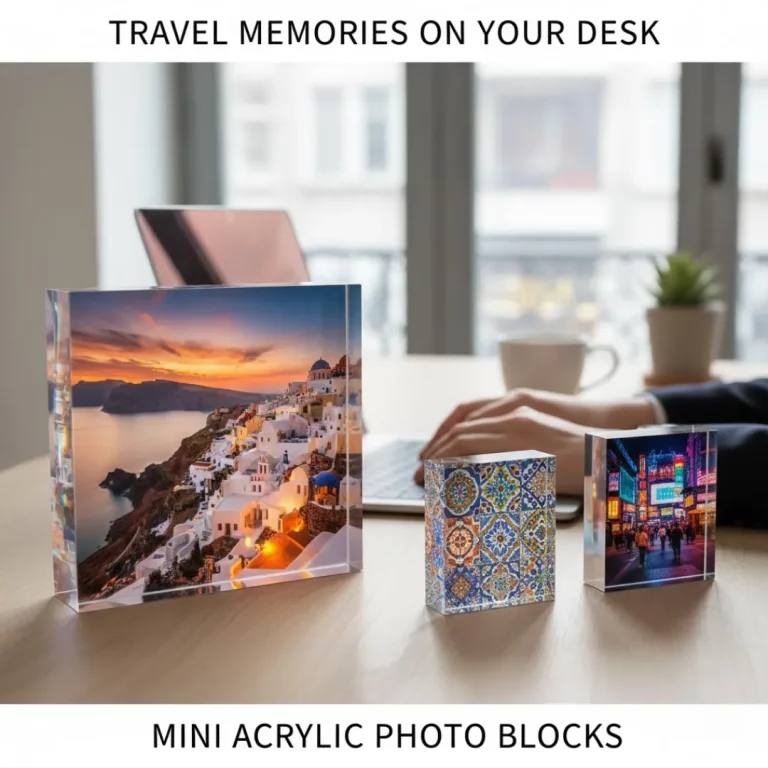
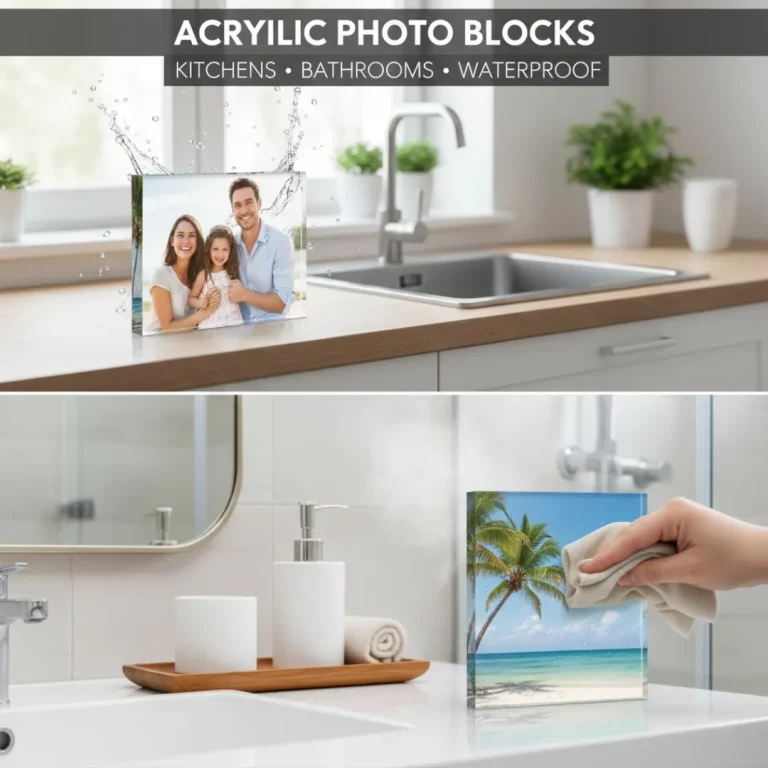
- 1/2″ to 1″: Thicker sheets are often used for freestanding “photo blocks.” They are heavy and substantial, perfect for desks or shelves.
Mounting and Hanging Options
How will you hang your custom acrylic prints?
- Standoff Bolts: Metal bolts in the corners hold the print about an inch off the wall, creating a “floating” effect. This is a very popular and modern look.
- French Cleat: A hidden hanging system on the back of the print that makes it look like it’s hovering just off the wall. This is ideal for a clean, hardware-free appearance.
- No Hardware: If you plan to use the print as a photo block or place it in a stand, you can order it with no mounting hardware.
Finishes and Edges
- Glossy vs. Matte: Most acrylic is glossy, which makes colors pop. Some printers offer a matte or non-glare option, which is great for rooms with a lot of bright light.
- Edge Finish: The edges of the acrylic can be finished in different ways. A “flame polished” edge is perfectly smooth and clear, enhancing the 3D effect.
Step 3: Placing Your Order
Ordering custom acrylic prints is usually a straightforward online process.
- Upload Your Image: Start by uploading your high-resolution photo.
- Select Custom Size/Shape: Enter your desired dimensions or choose from available custom shapes. The online tool will show you a live preview.
- Choose Your Options: Select the thickness, mounting hardware, and any other finishing touches.
- Review and Approve: Carefully check the preview one last time. Make sure the crop is correct and there are no typos if you’ve added text.
- Complete Your Purchase: Enter your shipping and payment information.
The entire process is often user-friendly. In fact, many printers have adopted easy-to-use interfaces, a trend also seen in a recent photobook UX review of different software.
Ideas for Custom Acrylic Prints
Now for the fun part! Here are some creative ways to use custom sizing and shapes.
| Idea | Description | Best For |
|---|---|---|
| Panoramic Skyline | A very wide, short print of a city skyline or mountain range. | Above a long sofa or headboard. |
| Circular Portraits | A close-up portrait printed on a round piece of acrylic. | Creating a soft, modern look in a gallery wall. |
| Die-Cut Logo | A business logo cut to its exact shape for a professional lobby display. | Enhancing your brand’s presence in an office. This is a top use for acrylic wall art for business. |
| Triptych Panels | A single image split across three separate custom-sized acrylic panels. | Making a bold statement with a large piece of art. |
| Photo Collage | Combine multiple photos into one design and print it on a large custom sheet. A wedding collage print is a perfect example. |
Conclusion
You should never have to compromise on your favorite photos. With custom acrylic prints, you are in complete control of the final product. You can break free from the constraints of standard sizes and create a piece of wall art that perfectly fits your space and your style.
By starting with a high-quality image and carefully selecting your custom options, you can easily order a stunning, gallery-quality print in any size or shape you can imagine. It’s time to get those amazing photos off your hard drive and onto your wall in a format that does them justice.
Frequently Asked Questions (FAQ)
Q: Is there a maximum size for custom acrylic prints?
A: Most printing companies have a maximum size, often around 48×96 inches, due to shipping constraints and the size of the acrylic sheets. However, this is very large and suitable for most applications.
Q: Are custom shape prints much more expensive?
A: Custom shapes that are simple (like circles or ovals) are often only slightly more expensive than rectangles of a similar size. More complex, die-cut shapes that require custom programming for the laser cutter will cost more.
Q: How do I ensure the colors in my print will be accurate?
A: For professional photographers, it’s best to calibrate your monitor and use the printer’s provided color profiles (if available). For casual users, make sure the photo looks good on a quality screen, and the printer’s technology will handle the rest.
Q: Can I add text to my custom acrylic prints?
A: Yes, most online design tools allow you to add text. This is great for adding names, dates, or quotes to your print. You can often choose from a variety of fonts and colors.
Q: What is the turnaround time for a custom order?
A: Production time for custom prints is typically between 3-10 business days, depending on the complexity of the order. Shipping time will be additional.
Q: Can I create a custom acrylic print from my phone?
A: Yes, many printers have mobile-friendly websites or apps. Just make sure you are uploading the original, full-resolution photo from your phone’s gallery, not a compressed version from a messaging app. Many of the best mobile apps for creating photobooks have direct printing integrations.
Q: What if I don’t know how to create a file with a cut line for a custom shape?
A: If you have a complex shape in mind but lack the technical skills, contact the printer’s customer service. They often have design services that can help you prepare your file for an additional fee.