There is something deeply satisfying about seeing a transformation. Whether it’s a home renovation, a fitness journey, or a garden coming to life, the visual story of “before” and “after” is powerful. It’s a testament to hard work, progress, and the beauty of change. But how do you best capture and display that journey?
A single photo can’t tell the whole story. A before after collage is the perfect way to showcase the full impact of a transformation by placing the starting point and the final result side-by-side. This guide will explore creative ideas for your next project and show you how to design a stunning collage that perfectly captures your progress.
The Power of a Before After Collage
A before after collage does more than just show two pictures; it creates a narrative. It instantly communicates progress, effort, and success. This simple but effective format is compelling because it provides a clear and immediate sense of accomplishment.
This visual storytelling technique is popular for a reason—it’s motivating, inspiring, and incredibly shareable. By placing two moments in time next to each other, you highlight the contrast and make the achievement feel more significant. It’s a visual high-five that you can display with pride.
Creative Before After Collage Ideas
The before-and-after format can be applied to almost any journey of change. Here are some inspiring ideas to get you started on your next collage project.
1. Fitness and Personal Growth Journeys
This is one of the most popular uses for a before after collage. Documenting a fitness journey is a powerful motivator for yourself and an inspiration to others.
- What to capture: Take a “before” photo at the start of your journey. Then, take an “after” photo in the same pose and outfit once you’ve reached your goal.
- Pro-Tip: For a more detailed story, create a multi-photo collage showing progress at different stages (e.g., month 1, month 3, month 6). This tells a richer story of perseverance.
2. Home Renovation and DIY Projects
Did you transform a dated kitchen or build a garden from scratch? A before-and-after collage is the perfect way to show off your hard work and design skills.
- What to capture: Take a picture of the space from the exact same angle before you start and after the project is complete.
- Pro-Tip: Create a collage for each room you renovate. A series of these prints can tell the story of your entire home’s transformation. You can even experiment with different display styles, such as framed vs. unframed prints, to match your new decor.
3. “Glow Up” and Then-and-Now Photos
This fun and often sentimental idea is perfect for celebrating personal history. It shows growth, change, and the passage of time in a touching way.
- What to capture: Pair a childhood photo with a current one where you recreate the same pose, outfit, or location. This can also be done for couples, showing a photo from when they first met next to a current one.
- Pro-Tip: This is a fantastic idea for a family photo collage. You could even create a triptych showing a photo from childhood, teenage years, and adulthood.
4. Pet Growth from Puppy/Kitten to Adult
The change in our furry friends during their first year is remarkable. A before after collage is a heartwarming way to remember just how small they once were.
- What to capture: A photo of your pet on their first day home, paired with a photo of them one year later in the same spot.
- Pro-Tip: Use the same prop, like a favorite toy or their bed, in both photos to visually emphasize their growth. This is a great alternative to a full 12-month baby photo collage if you want a simpler format.
| Collage Idea | Photo Subjects | Story It Tells |
| Fitness Journey | Posed body shots, workout action shots. | Dedication, health, and achievement. |
| Home Renovation | Wide shots of rooms, close-ups of details. | Creativity, hard work, and design vision. |
| Glow Up | Recreated childhood photos. | Personal growth, nostalgia, and time. |
| Pet Growth | Puppy/kitten photo vs. adult photo. | The journey of companionship and love. |
How to Design a Powerful Before After Collage
Creating an effective collage is about more than just placing two pictures together. A few design principles can make your visual story even more impactful.
Strive for Consistency
To make the transformation as clear as possible, keep the conditions in your before and after photos similar.
- Angle and Pose: Stand in the same spot and hold the same pose.
- Lighting: Take both photos at the same time of day with similar lighting.
- Clothing: For fitness photos, wearing the same outfit provides a clear benchmark for change.
Choose the Right Layout
For a before after collage, simplicity is key. A side-by-side layout with two vertical or two horizontal photos is the most effective and easy-to-read format. You can use a free online photo collage maker like Canva to easily create this layout. Add a simple line or a small gap between the two images to distinguish them.
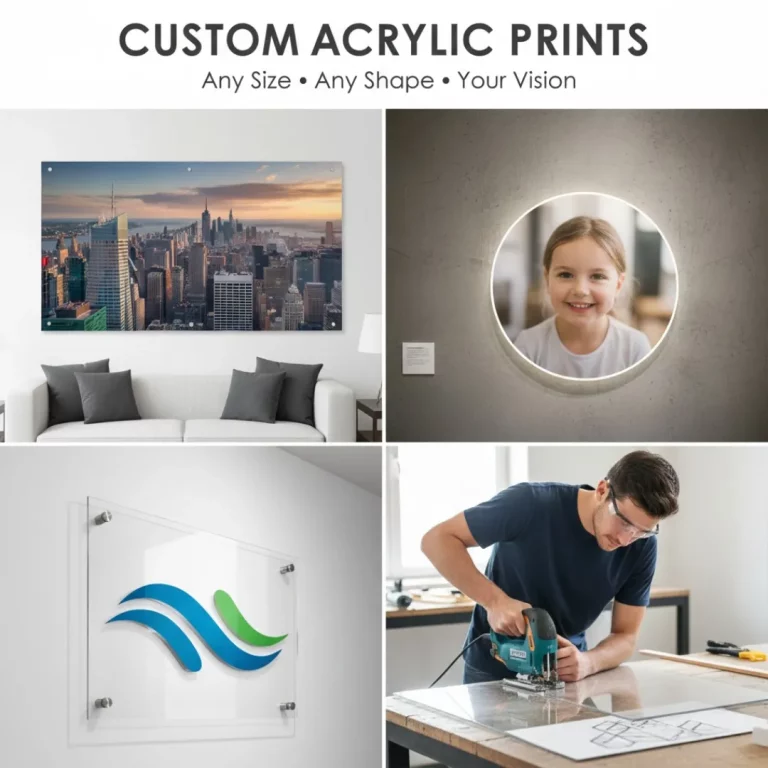
Printing Your Collage on Acrylic
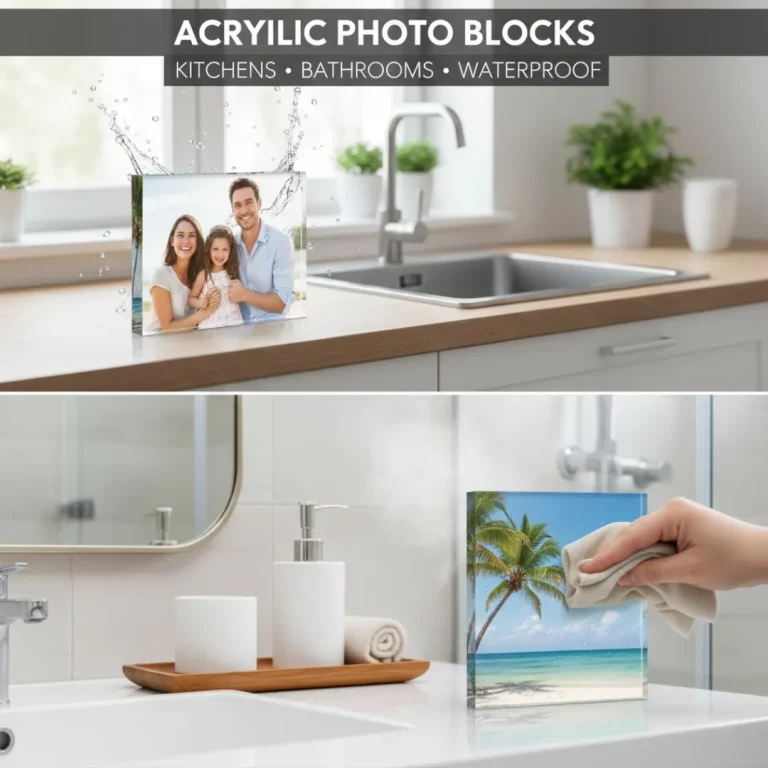
To give your collage a modern and polished look, consider printing it on acrylic. The process involves mounting the print behind a polished acrylic sheet, which makes colors more vibrant and adds a sense of depth. It’s a durable, frameless option that turns your accomplishment into a piece of art. For more ideas on how to use this medium, check out these 10 stunning ways to use acrylic photo frames.
When printing, always use high-resolution photos. A high-quality print will highlight every detail of your transformation. The difference between various modern print types can be seen when comparing acrylic vs. metal prints.
Conclusion: Celebrate Your Progress
A before after collage is a beautiful and powerful way to honor your journey of transformation. It’s a visual record of your hard work, a source of motivation, and a story of success that deserves to be celebrated. Whether it’s a personal achievement or a creative project, displaying your progress is a reminder of what you are capable of.
So find those “before” photos, start documenting your progress, and get ready to create a stunning collage that tells your unique story of change.
Frequently Asked Questions (FAQs)
Q: What’s the best tool to create a before after collage?
A: Free online tools like Canva or Adobe Express are excellent for creating a simple side-by-side collage. They have templates that make it easy to drop in your two photos, add text, and export a high-quality file for printing.
Q: Should I add dates or text to my collage?
A: Yes, adding dates under the “before” and “after” photos can add valuable context to your story. You could also add a short title or a caption describing the transformation (e.g., “Kitchen Remodel: 3 Months’ Progress”).
Q: What resolution do my photos need to be for a good print?
A: For a high-quality print, your photos and the final collage file should be at least 300 DPI (dots per inch). Always use the original, full-size photos from your camera or phone, not compressed versions from social media. You can find more information about sourcing quality pictures from various sources for high-resolution wall art images.
Q: Can I make a collage with more than two photos?
A: Absolutely! A multi-photo collage can show several stages of a transformation. For example, a home renovation project could have a “before,” “during,” and “after” shot. A fitness journey could show progress month by month. These multi-photo frame ideas can inspire more complex layouts.
Q: Is an acrylic print a good choice for a before after collage?
A: Yes, it’s a fantastic choice. The vibrant colors and modern, frameless look of an acrylic print make the transformation pop. The durability also ensures your story of success will be preserved for years to come.
Q: How do I get the lighting to be the same in both photos?
A: Try to take both the before and after photos in the same location, at the same time of day, and with the same light source (e.g., facing a window). Consistent lighting makes the physical changes in the photo much clearer.Q: Can I use old printed photos for the “before” shot?
A: Yes. You will need to scan the old photo to create a digital copy. Use a high-quality scanner and set it to scan at 300 DPI or higher to ensure the digital file is clear enough for printing. This is a great way to create a then-and-now family photo collage.