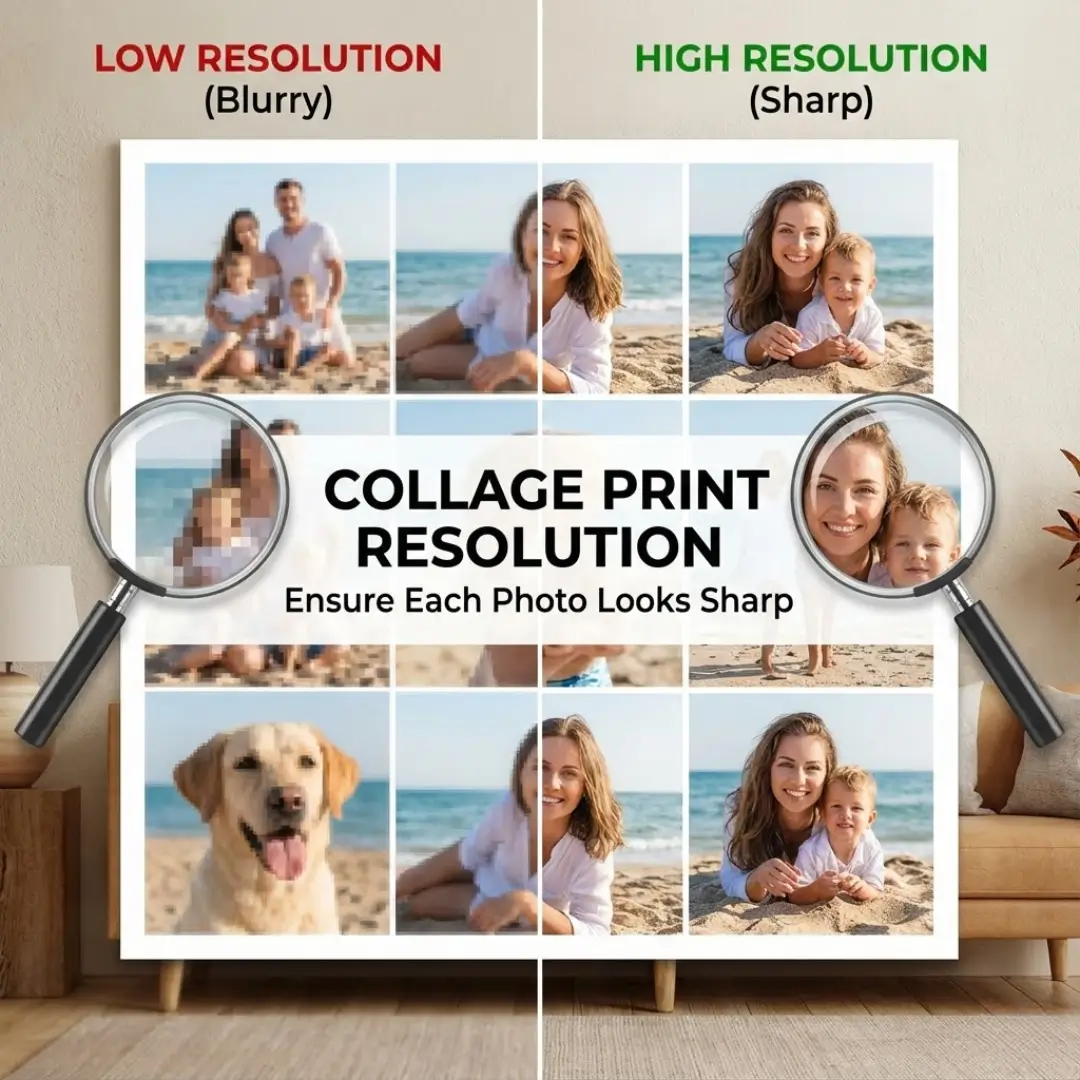
There’s nothing more disappointing than ordering a beautiful photo collage, only to have it arrive with blurry, pixelated images. You spent hours choosing the perfect photos and arranging them into a stunning design. But when you look closely, the final print lacks the crispness and clarity you expected.
This common problem almost always comes down to one crucial factor: collage print resolution. Understanding how digital images translate to physical prints is the key to creating wall art that looks sharp and professional, no matter the size.
This guide will break down everything you need to know about image resolution for collages. We’ll explain what DPI means, how to check your photos, and what to do if your image quality is too low. By the end, you’ll be able to create and print your next collage with confidence, knowing every photo will look its absolute best.
What is Image Resolution and Why Does it Matter?
Image resolution refers to the amount of detail packed into a digital photo. It’s measured in pixels, which are the tiny dots that make up a digital image. A photo with more pixels has more detail and will look sharper when printed.
When we talk about print quality, the term you’ll hear most often is DPI, or “Dots Per Inch.” This refers to the number of individual dots of ink a printer will place on one inch of paper. The higher the DPI, the more detailed and crisp the printed image will be.
For a high-quality print, the standard recommendation is 300 DPI. An image printed at 300 DPI will look sharp and clear to the human eye. An image printed at a lower DPI, like 72 DPI (which is standard for web images), will look blurry and pixelated.
The Challenge of Collage Print Resolution
Achieving the right collage print resolution is trickier than printing a single photo. Why? Because you are resizing and arranging multiple images, each with its own starting resolution, into a single new canvas.
For example, let’s say you are creating a 20×30 inch collage with 10 photos. Each of those 10 photos will be printed at a much smaller size within the collage, perhaps around 5×7 inches. The resolution of each individual photo must be high enough to look sharp at its final printed size within the larger collage.
Many online collage makers will automatically resize your photos to fit the layout. If you upload a low-resolution photo and stretch it to fill a large spot in your collage, the quality will suffer.
How to Check Your Photos for High Resolution
Before you even start designing your collage, it’s essential to verify that your source photos are good enough for printing. Here’s how.
1. Check the File Size
A simple first step is to look at the file size. While not a perfect measure, it’s a good indicator.
- Under 500 KB (Kilobytes): Likely too small for anything other than a very small print (e.g., 2×3 inches). Often sourced from social media or text messages.
- 500 KB to 1 MB (Megabyte): Can work for small spots in a collage (e.g., 4×4 inches).
- 1 MB to 5 MB: Good quality. Suitable for sizes up to 8×10 inches within a collage.
- 5 MB+: Excellent quality. These photos can be printed large without losing detail.
2. Check the Pixel Dimensions
For a more accurate check, look at the pixel dimensions of your photo. You can find this information by right-clicking the file on a computer and selecting “Properties” (PC) or “Get Info” (Mac).
To calculate the maximum sharp print size at 300 DPI, simply divide the pixel dimensions by 300.
| Pixel Dimensions | Max Print Size (at 300 DPI) |
|---|---|
| 1200 x 1800 pixels | 4 x 6 inches |
| 1500 x 2100 pixels | 5 x 7 inches |
| 2400 x 3000 pixels | 8 x 10 inches |
| 3000 x 4500 pixels | 10 x 15 inches |
Pro-Tip: Most online printing tools have a built-in quality checker. If you upload a photo that has insufficient resolution for the size you’ve chosen, it will display a warning icon. Do not ignore this warning!
If you are pulling photos directly from your phone, our guide on how to print photos from your phone offers great tips for ensuring you’re using the original, high-quality files.
Common Resolution Problems and How to Fix Them
What happens if your favorite photos have low resolution? Don’t panic. You still have options.
Problem 1: Photos from Social Media (Facebook/Instagram)
Social media sites compress images to save server space. Downloading a photo from your Facebook feed will give you a low-resolution version.
Solution:
- Find the Original: The best solution is always to find the original photo on your phone or computer.
- Use Smaller in the Collage: If you must use a social media photo, place it in a smaller slot in your collage design. A 2×2 inch spot requires far less resolution than an 8×10 inch spot.
- AI Upscaling Tools: There are now AI-powered tools that can intelligently increase the resolution of a photo. While not perfect, they can often make a low-quality image usable for printing.
Problem 2: Photos Sent via Text Message
Like social media, messaging apps heavily compress images to send them quickly. A photo sent via MMS or WhatsApp is almost never suitable for printing.
Solution:
- Ask the sender to email you the original photo file or share it via a cloud service like Google Drive or Dropbox. This will preserve the full collage print resolution.
Problem 3: Old Scanned Photos
If you’re creating a heritage or family history collage, you might be working with old scanned photos.
Solution:
- When scanning, always choose a high DPI setting. Scan at 300 DPI for photos you want to reprint at their original size, and scan at 600 DPI or higher for photos you plan to enlarge.
Once you have your high-quality files ready, be sure to follow a guide to organize your digital photos for printing to make the collage creation process smooth and simple.
Choosing the Right Print Material
The material you print on can also affect the perception of sharpness.
- Acrylic Prints: Because of their glossy, high-definition finish, acrylic prints show every detail. This means that a high collage print resolution is absolutely essential for a sharp result. The clarity of acrylic can make a low-res photo look even worse.
- Canvas Prints: The woven texture of canvas is more forgiving. The texture naturally softens the image, which can help mask minor imperfections in resolution. For a deep dive, see our comparison of acrylic wall art vs. canvas.
For the absolute best results with a collage, especially one with many small images, acrylic is a fantastic choice—as long as your resolution is up to par. For ideas, check out these family photo collage ideas for stunning acrylic prints.
Conclusion
Getting the collage print resolution right is the single most important step to creating a beautiful, high-quality piece of wall art. By starting with high-resolution photos, checking their pixel dimensions, and paying attention to quality warnings, you can avoid the disappointment of a blurry print.
Remember the 300 DPI rule, always use the original photo files when possible, and choose a print size that honors the quality of your images. By following these guidelines, you can ensure that every precious memory in your collage is displayed with the sharpness and clarity it deserves.
Ready to put your knowledge to the test? Start creating a beautiful, high-resolution collage with our guide to designing a photo collage online.
Frequently Asked Questions (FAQ)
Q: What is the minimum resolution for a good quality print?
A: For wall art that will be viewed from a few feet away, 150 DPI is often considered the absolute minimum. However, for the best quality and sharpness, especially on glossy materials like acrylic, 300 DPI is the recommended standard.
Q: Will a larger file size (in MB) always mean a better photo?
A: Generally, yes. A larger file size usually indicates more pixel data, which translates to higher resolution. A photo that is 4 MB will almost always be better for printing than one that is 400 KB.
Q: Can I just increase the DPI of a photo in an editing program?
A: No, this is a common misconception. Simply changing the DPI value in a program like Photoshop without resampling the image doesn’t add any new detail; it just changes the print instructions. To truly improve a low-resolution image, you need to use an AI upscaling tool that intelligently adds new pixels.
Q: My online collage maker says my photo is “low quality.” What should I do?
A: First, try to find the original file. If you can’t, either place that photo in a much smaller spot in your collage layout or remove it from the design. Printing a photo flagged as low quality will likely result in a blurry spot on your final product.
Q: How does the final size of the collage affect the required resolution?
A: The larger your final collage print, the more important the overall resolution becomes. However, the most critical factor is the resolution of each individual photo relative to its size within the collage. A photo that’s only 2×2 inches on a giant 30×40 inch collage still only needs enough resolution for a 2×2 inch print.
Q: Do I need to worry about the resolution of text in my collage?
A: Yes. Text should be created in a “vector” format whenever possible, as vectors can be scaled to any size without losing quality. If you are creating your text in a program like Photoshop, ensure your canvas resolution is at least 300 DPI from the start.
Q: Is 72 DPI ever okay for printing?
A: No. 72 DPI is the standard for web images because it loads quickly on screens. It does not contain enough data for a physical print and will always look pixelated and blurry when printed on paper, canvas, or acrylic.