A photo collage is a fantastic way to display your cherished memories, but are you stuck in a creative rut? When most people think of a collage, they picture a standard, symmetrical grid. While there’s nothing wrong with this classic look, your photos—and your walls—deserve something more imaginative.
If you’re looking for fresh photo collage ideas that break free from the traditional layout, you’ve come to the right place. This guide will explore several unique and inspiring ways to arrange your photo prints into a work of art that truly reflects your personality and style. Get ready to transform your pictures into a stunning focal point.
Why Move Beyond the Standard Grid?
The grid layout is popular for a reason: it’s orderly, balanced, and easy to create. However, thinking outside the box offers several advantages:
- Tells a Stronger Story: A creative layout can add another layer of meaning to your photos.
- Creates a Unique Focal Point: An unconventional shape or design immediately draws the eye and makes a bold statement.
- Adds Personality: Your collage becomes a true reflection of your creativity, not just a collection of pictures.
- Fits Awkward Spaces: Non-traditional layouts can be adapted to fit around corners, up staircases, or in narrow hallways.
Ready to get inspired? Here are some of our favorite photo collage ideas that go beyond the basic grid.
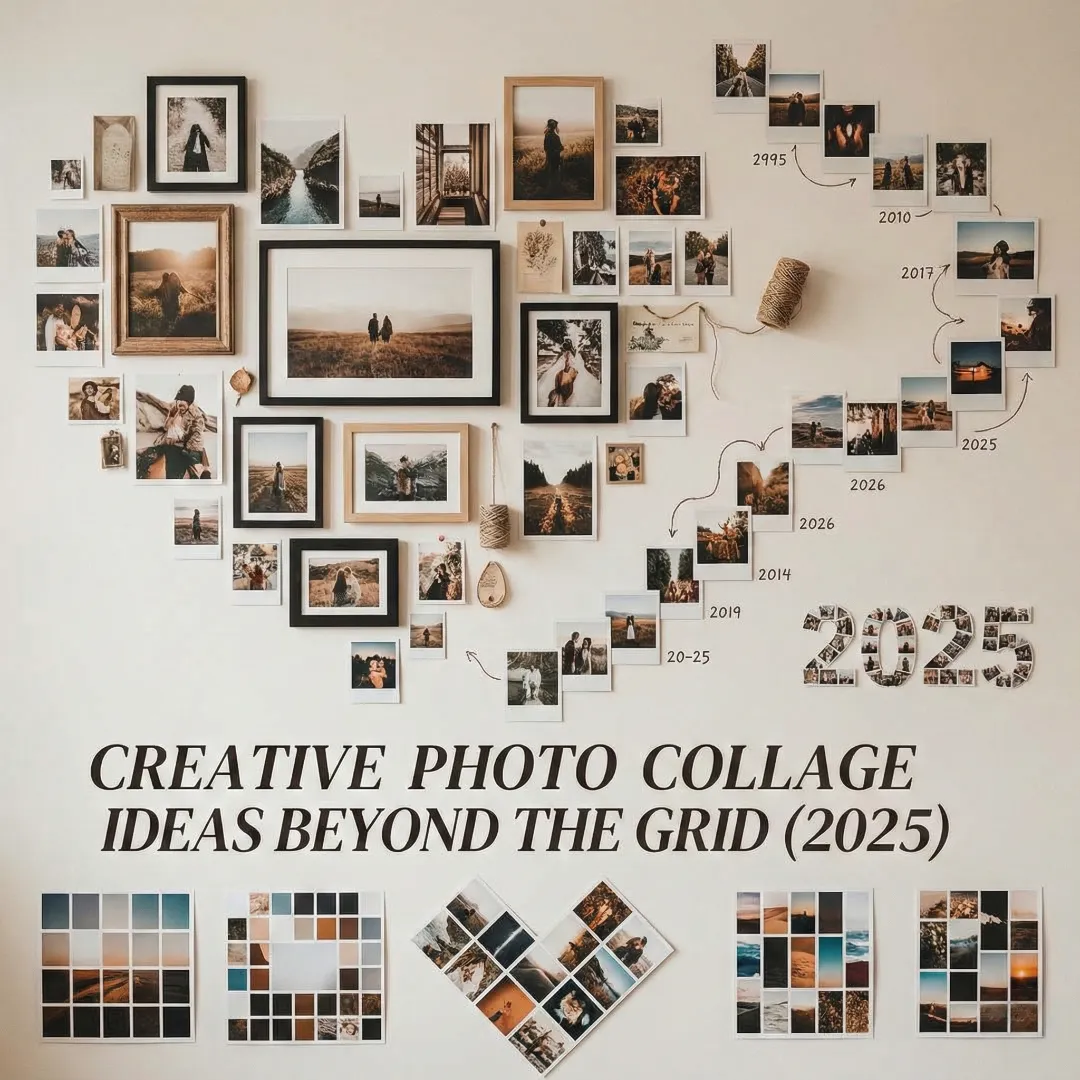
1. The Heart-Shaped Collage
A heart-shaped collage is perfect for showcasing photos of loved ones. It’s an ideal choice for wedding pictures, family portraits, or photos of your children. This shape instantly communicates love and warmth, making it a powerful and sentimental piece of decor.
How to Create It:
- Outline the Shape: Lightly trace a large heart shape on your wall with a pencil. You can create a stencil from paper to ensure it’s symmetrical.
- Start with the Edges: Begin by placing your most important or largest photos along the penciled outline. This will define the shape of the heart.
- Fill in the Middle: Once the border is established, fill in the center with the rest of your photos. Don’t be afraid of some overlap to create a lush, full look.
- Mix and Match: For added visual interest, try mixing frame sizes and orientations. A blend of portrait and landscape photos will make the collage more dynamic.
2. The Geometric Mosaic
If you love clean lines but want something more interesting than a square, a geometric mosaic is a fantastic option. This involves arranging your photos in a larger shape, like a hexagon, triangle, or even an abstract pattern of interlocking shapes.
How to Create It:
- Choose Your Photos: This style works best with photos that have a similar color palette or theme, which helps unify the geometric design.
- Print in a Consistent Shape: For a true mosaic effect, print all your photos in the same shape, such as squares. This makes them easier to piece together.
- Plan Your Pattern: Lay the photos on the floor to create your desired geometric pattern before hanging them on the wall.
- Hang with Precision: Use a level and a tape measure to ensure your lines are straight and the spacing is consistent. The precision is what makes this design so striking.
This idea is particularly effective for modern interiors and can be used when decorating a small space with photo frames to create a big impact.
3. The Letter or Word Collage
Spell it out! Creating a collage in the shape of a letter, a name, or a meaningful word (like “LOVE,” “HOME,” or “FAMILY”) is a highly personal and creative photo collage idea. You can create a single large initial or spell out an entire word along a wall.
How to Create It:
- Select Your Word: Choose a word or letter that has personal significance.
- Find or Create a Stencil: You can buy large craft letters to use as a base or simply draw the outlines on the wall.
- Arrange Your Photos: Carefully place your photos within the letter outlines. You may need to trim some photos to fit the curves and angles of the letters.
- Use Smaller Prints: This style often works best with smaller photo prints (like 4×6 or 5×7) as they are easier to arrange into complex shapes.
4. The Chronological Storyline
Turn your wall into a visual timeline of your life or a specific event. This narrative-driven collage is perfect for showing a child’s growth, a couple’s journey, or a memorable vacation from start to finish. It’s one of the most meaningful photo collage ideas for telling a story.
How to Create It:
- Organize Your Photos: The first step is to sort your photos by date. This is the foundation of your timeline.
- Create a Flow: Arrange the photos in a line that flows across the wall. This could be a straight line, a gentle curve, or a design that zig-zags up a staircase.
- Add Milestones: Consider using larger prints or different colored frames to mark significant milestones, such as birthdays, graduations, or anniversaries.
- Consider Captions: For an extra touch, you can add small labels with dates or a brief description beneath certain photos.
For more on this concept, explore these chronological photo frame wall ideas for storytelling.
5. The Freestyle or “Scattered” Look
For a more organic and eclectic vibe, embrace the freestyle collage. This style abandons straight lines and perfect spacing in favor of an arrangement that feels more spontaneous and layered.
How to Create It:
- Start with a Central Photo: Choose one main photo to be the anchor of your collage. Place it in a central, prominent position.
- Build Outward: Begin arranging other photos around the central one, radiating outwards. Overlap the edges and corners of the photos.
- Vary Sizes and Shapes: This look is all about variety. Mix large and small prints, and don’t be afraid to include circular or unconventionally shaped photos.
- Incorporate Other Elements: Add other mementos like postcards, ticket stubs, or dried flowers to give your collage more texture and personality.
Conclusion: Let Your Creativity Shine
Your photos are filled with personality, and the way you display them should be too. Moving beyond the standard grid opens up a world of creative photo collage ideas that can turn a blank wall into a meaningful masterpiece. Whether you choose a romantic heart shape, a modern mosaic, or a personal word collage, the goal is to have fun and create something you love.
So gather your favorite prints, pick a layout that speaks to you, and start creating. The best part is that you can always add to it or change it over time, letting your wall evolve just as your life does.
Ready to bring your collage to life? Explore our high-quality photo prints and find the perfect sizes for your next project.
Frequently Asked Questions (FAQ)
Q: What is the best way to plan a photo collage?
A: The best way to plan is to lay everything out on the floor before you touch the wall. Arrange your photos, move them around, and take a picture of the final layout with your phone. You can also trace your frames onto paper, cut them out, and tape them to the wall to visualize the final look.
Q: How do I choose photos for a collage?
A: For a cohesive look, choose photos with a similar color palette (e.g., all black-and-white or photos with warm tones). Alternatively, you can choose photos based on a theme, such as “beach vacations,” “family holidays,” or “our wedding.”
Q: Should I use frames for my collage?
A: It’s a matter of preference. A frameless collage with just the prints offers a modern, scrapbook feel. Using frames can create a more polished, gallery-like appearance. If you use frames, it’s important to know how to choose frame colors for your room decor to create a unified display.
Q: How do I hang photo prints without damaging my walls?
A: For a damage-free collage, use removable adhesive strips or poster putty. These products are designed to hold lightweight items like photo prints securely and can be removed without leaving marks, making them perfect for renters or frequent redecorators.
Q: How far apart should I space my photos in a collage?
A: For grid or geometric layouts, consistent spacing of 1-2 inches is key for a clean look. For freestyle or heart-shaped collages, you can overlap the photos for a more layered effect. The most important rule is to be intentional with your spacing.
Q: Can I mix different photo sizes in my collage?
A: Yes, absolutely! Mixing different sizes is one of the best ways to make your collage more visually interesting and dynamic. It helps create a visual hierarchy and draws the eye to different parts of the arrangement. This is a core principle in 2-photo & 3-photo frame ideas as well.Q: What kind of photo prints work best for a collage?
A: Lustre or matte finish prints are often best as they reduce glare, making the photos easier to see from different angles. This is especially important for a large wall collage that will be viewed in various lighting conditions. Consider prints with non-glare acrylic to reduce reflections if framing.