Your brand-new acrylic print has arrived, and it looks even more stunning than you imagined. The colors are vibrant, the details are sharp, and you can’t wait to see it on your wall. But then comes the big question: how do you actually hang it? The idea of drilling into your wall can be daunting, and you want to ensure your beautiful art is secure and perfectly placed.
Don’t worry, this task is easier than it seems. You don’t need to be a professional to get a gallery-quality result. This guide will walk you through everything you need to know to hang acrylic wall art yourself, with clear, step-by-step instructions for a perfect finish.
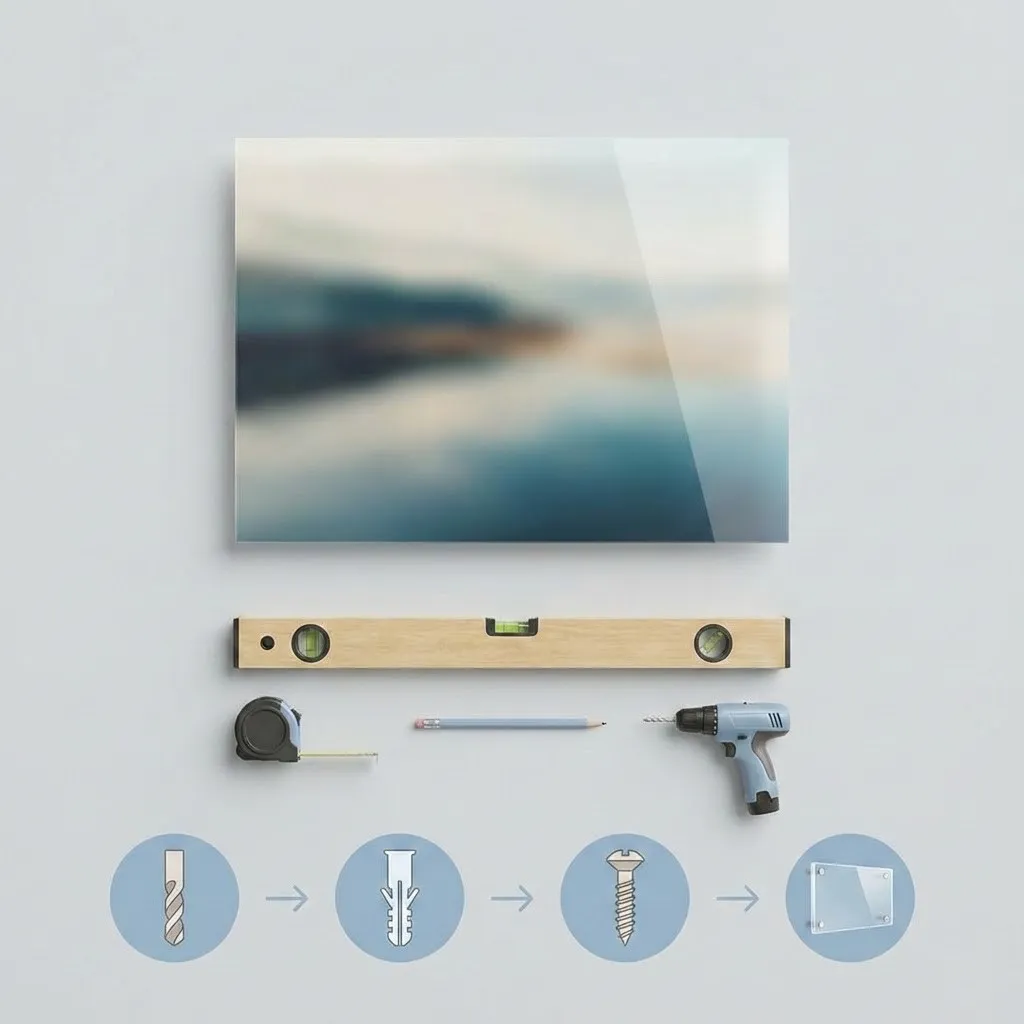
Before You Begin: Gathering Your Tools
Proper preparation is the key to a smooth installation process. Before you start, gather all the necessary tools to make the job simple and efficient. Having everything on hand will prevent interruptions and help you work more accurately.
Essential Tools:
- Pencil
- Tape measure
- Level (a laser level is helpful but not required)
- Drill with the appropriate drill bit
- Screwdriver
- Hammer (for tapping in wall anchors)
- Painter’s tape
Your acrylic print should arrive with its own mounting hardware, which typically includes standoff barrels, screws, standoff caps, and wall anchors.
Step 1: Plan the Perfect Placement
Deciding where to hang acrylic wall art is just as important as how you hang it. The right placement can transform a room, while the wrong spot can make the art feel out of place. Take a moment to consider the best location.
A common guideline is the 57-inch rule, which suggests the center of the artwork should be 57 inches from the floor. This places it at average eye level, a principle used in many galleries. For more detailed advice, check out these frame placement tips for hanging pictures at eye level.
Once you’ve chosen a spot, use painter’s tape to create a temporary outline of the print on the wall. This lets you step back and visualize the placement, ensuring it feels balanced with your furniture and other decor.
Step 2: Mark Your Drill Holes Accurately
Accuracy is crucial for a professional look. This is where your tape measure, level, and pencil come into play. Most acrylic prints come with pre-drilled holes in the corners for the standoff hardware.
- Measure the Print: Measure the exact distance between the centers of the pre-drilled holes on your acrylic print, both horizontally and vertically.
- Transfer to the Wall: Hold your print against the wall in the desired position (or use your painter’s tape outline). Use your level to make sure it’s straight.
- Mark the First Hole: Make a light pencil mark through the center of the top-left hole.
- Mark the Remaining Holes: Using your measurements and the level, mark the other three points on the wall. Double-check that all your marks are perfectly level and spaced correctly before moving on.
Pro-Tip: For an even easier method, place a piece of painter’s tape across the back of your print, marking the hole locations directly on the tape. Then, transfer the tape to the wall and use a level to position it.
Step 3: Install the Standoff Barrels
The standoff barrels are the part of the hardware that attaches to the wall and holds the print away from it, creating the signature floating effect.
- Drill Pilot Holes: At each pencil mark, drill a pilot hole. The size of the drill bit should correspond to the size of the wall anchors provided with your hardware.
- Insert Wall Anchors: If you’re drilling into drywall, gently tap a wall anchor into each hole with a hammer until it is flush with the wall. If you hit a stud, you can skip the anchor and drill the screw directly into the wood.
- Screw in the Barrels: Align the hole in each standoff barrel with the anchor and use a screwdriver to attach it securely to the wall. Do not overtighten.
Step 4: Hang Your Acrylic Wall Art
With the barrels securely on the wall, you’re ready for the final and most rewarding step. This is where you get to see your vision come to life.
- Position the Print: Carefully hold your acrylic print and align its pre-drilled corner holes with the standoff barrels on the wall.
- Secure with Caps: Screw the standoff caps through the front of the print into the barrels. Hand-tighten them until they are snug. Be careful not to overtighten, as this could damage the acrylic.
- Final Polish: Once your art is secure, gently wipe away any fingerprints from the surface with a soft microfiber cloth.
This process is a great way to elevate your photographic prints into modern masterpieces. The floating effect creates a sense of depth that makes the artwork truly stand out.
Alternative Hanging Methods
While standoffs are most common, other options exist. If your print has a back-mounted frame or French cleat system, the process will be slightly different but still straightforward. Always follow the specific instructions provided by the manufacturer for these alternative systems. Damage-free options, like heavy-duty adhesive strips, can also work for smaller, lighter prints, but always check the weight limits
Enjoy Your Beautifully Hung Artwork
There you have it—a simple, step-by-step guide to installing your acrylic prints like a pro. By taking the time to plan, measure carefully, and use the right tools, you can confidently hang acrylic wall art and create a stunning focal point in any room. Now, all that’s left to do is step back and admire your work.
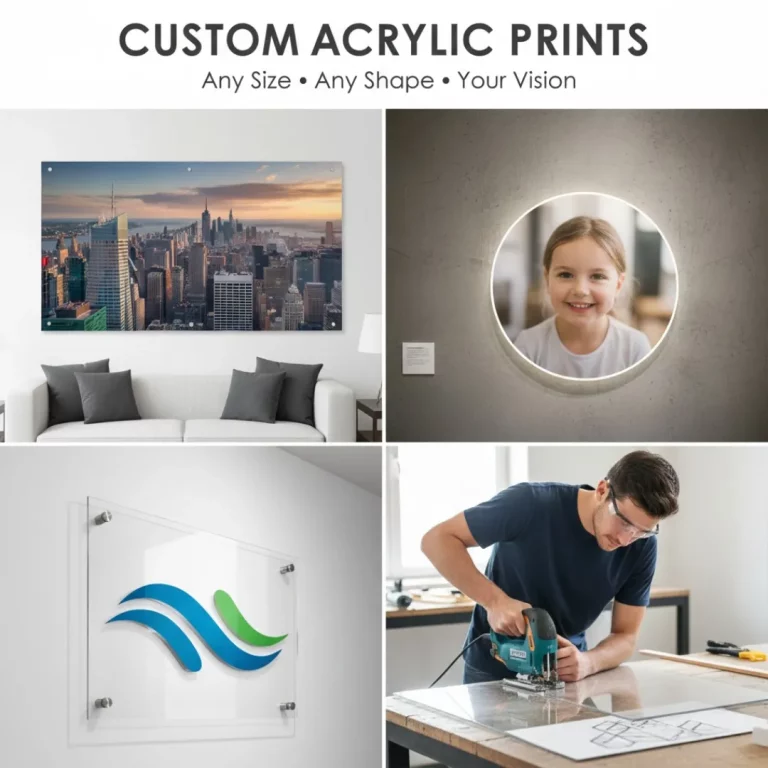
Ready to add more beautiful pieces to your collection? Explore our range of custom acrylic prints and turn your favorite photos into incredible wall decor.