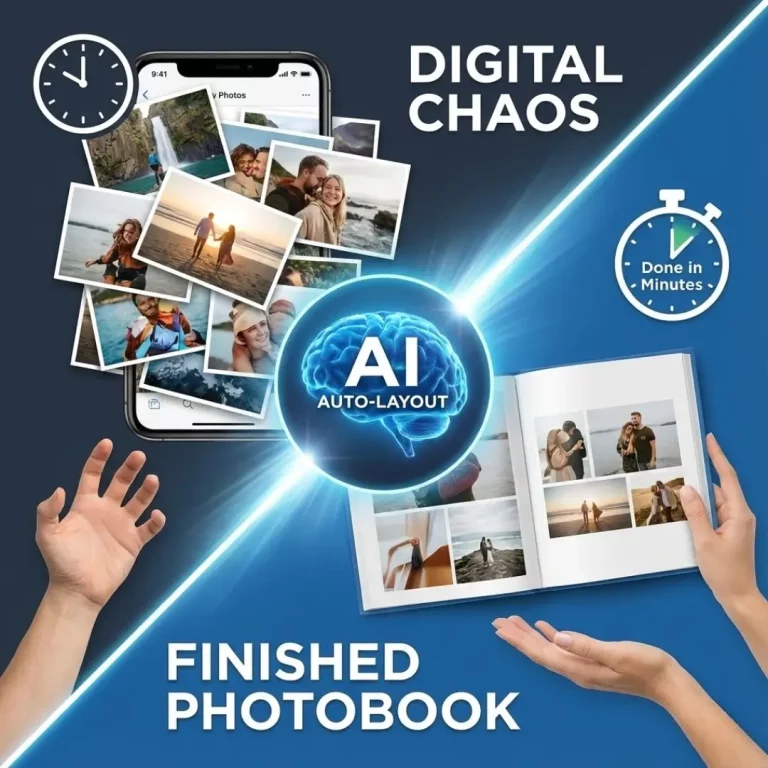
Making a photobook or album can be a great way to store memories. However, it can be overwhelming when you have your photos scattered between storage devices, cloud drives or dusty cabinets. If your collection is more like a mess rather than a well-organised tale, you’re not the only one. Today, we’ll guide you through practical photo organising techniques to turn the random photos you have in your collection into a coherent album. No matter if you’re an avid photographer, an experienced photobook designer, or someone who’s putting together albums for the very first time, this guide can make the process more manageable and enjoyable.
Why Organising Photos Matters
Organised photos do more than just reduce clutter. They can assist in crafting stories that are resonant. An organised album transforms fragmented photos into a story by weaving emotions and happenings effortlessly. With photos organised it will save you hours (or perhaps days!) when you’re ready to design your own photo book.
When you’re done with this article, you’ll be able to figure out how to arrange your photos in a professional manner, whether digital or physical and how to design albums that tell a story.
Step 1: Gather All Your Photos in One Place
Before you can create an album, you should take an inventory of all your pictures. The majority of people have their pictures spread across several devices and platforms, which makes this an essential first step.
1.1 Consolidate Your Digital Photos
- Explore smartphones as well as hard drives, SD cards, and even old CDs/DVDs.
- All photos should be put in one master folder that is labelled “Photos to Organise [Current Year].”
- Backup this folder by using an external HDD as well as cloud storage to provide extra security. Tools like Google Photos, iCloud, or Amazon Photos can automate backups.
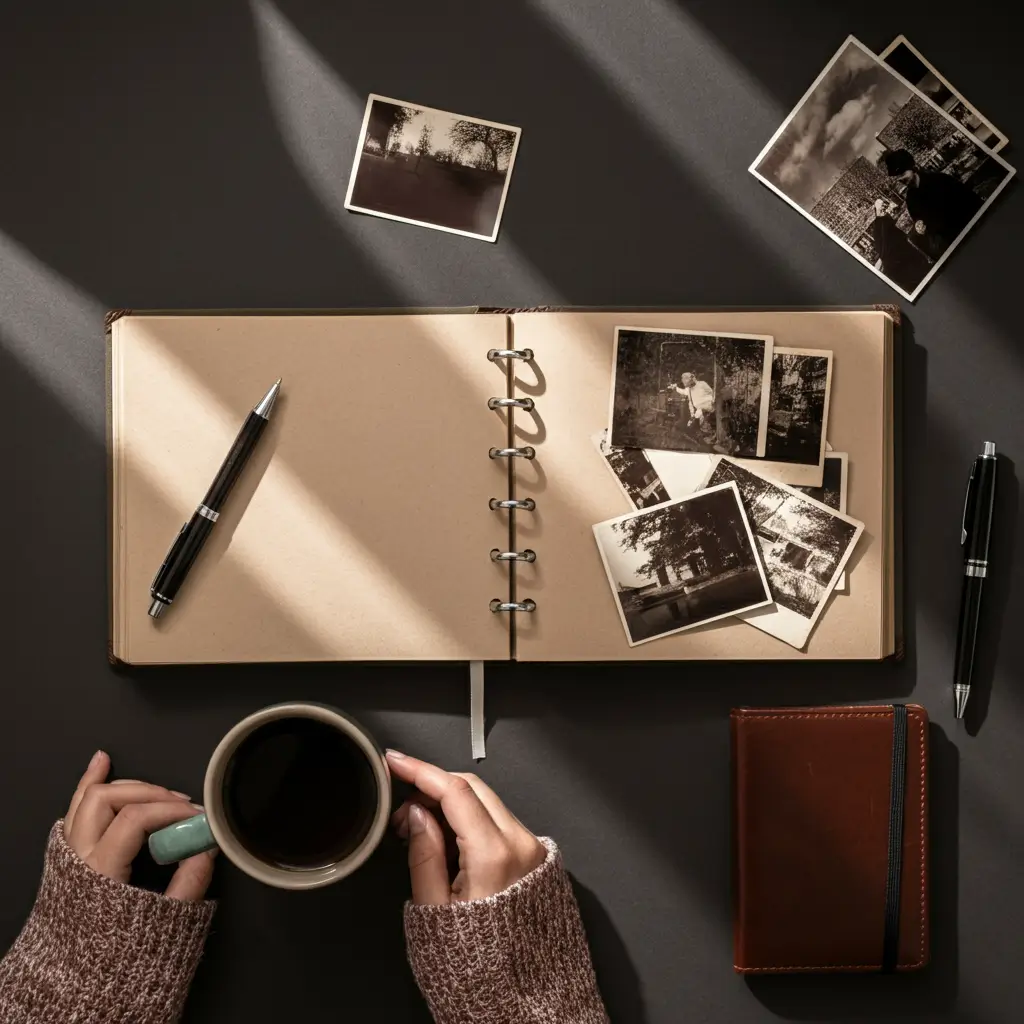
1.2 Sort Out Physical Photos
- Find printed photographs from old albums, shoeboxes and envelopes.
- Put them all in one place, like the bin or layered filing system.
- If you are planning to digitise them, put them aside to scan. Services such as Teoprint’s custom scanning or Printing will make this easier.
Pro Tips: Use a large, flat surface to use for sorting physical images. Note sticky notes with categories such as “Vacations,” “Family Milestones,” and “Seasonal Events.”
1.3 Declutter as You Go
- Do your best to remove duplicates, blurry images and other irrelevant images.
- Look for images that trigger emotions or bring up a particular memory.
The art of organising is curating quality over quantity. A smaller number of photos, organised and well-organised, will make putting together an album easier.
Step 2: Categorise Photos for Storytelling
After you have gathered all your photos in one location After that, the second step would be to organise your images into important categories. Consider this as a way of laying out the chapters that comprise your narrative.
2.1 Group by Themes
Split your photos into key sections:
- Chronological Photos of groups by season, year, or even specific milestones like “College Graduation 2021” or “Summer Road Trips.”
- Events-based Events like birthdays and weddings or holidays, as well as weekend getaways, are great as separate album sections.
- people-centric Sort by the people who have been photographed, for example, “Grandma’s Album” or “Pet Chronicles.” This is good for gifting purposes.
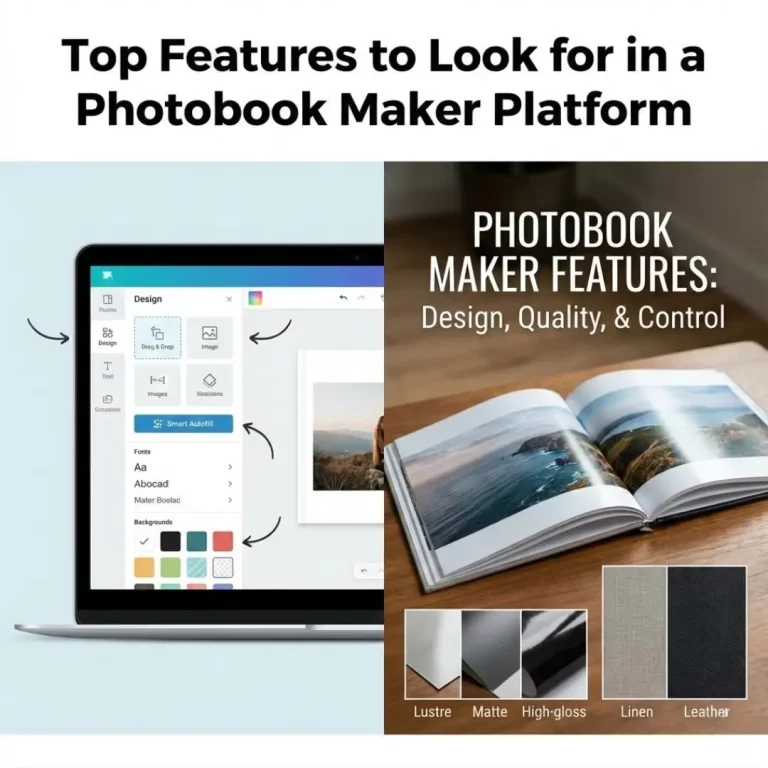
2.2 Use Digital Album Tools
Cloud services such as Google Photos or Amazon Photos automatically categorise photos based on facial identification or the geotag. To manually group albums, apps for album creation, such as Lightroom as well as Apple Photos, provide tagging and search options.
2.3 Include Supporting Materials
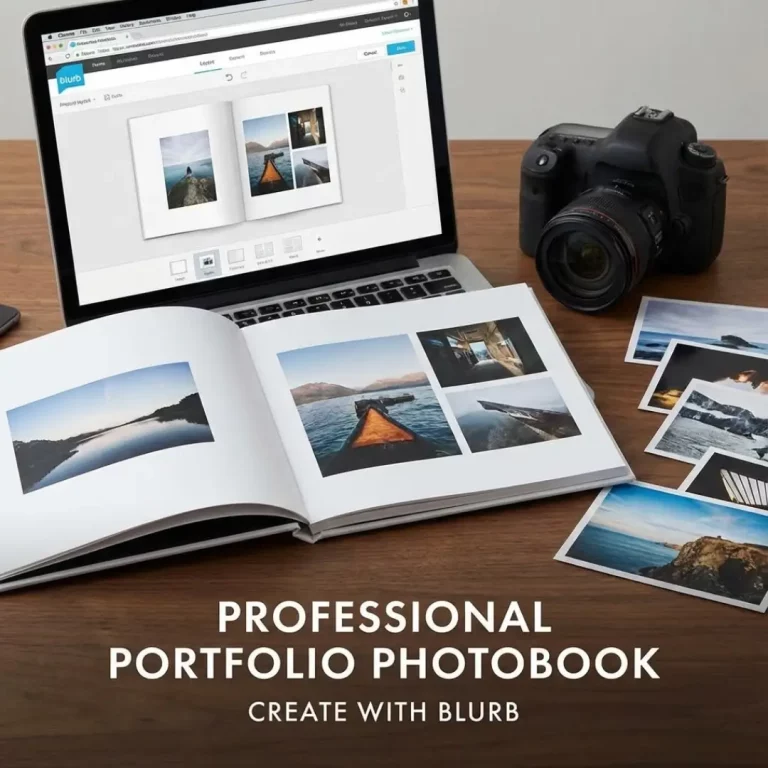
For albums printed on paper, consider including keepsakes such as tickets, event flyers, ticket stubs, or brief journal entries. Certain photobook platforms, like Teoprint’s Collage Frames Guide, allow you to create layouts that include texts alongside your images.
Pro Tips: Map out every album page in an outline of the storyboard. Please find out how the photos change from one page to the next to ensure that they flow seamlessly.
Step 3: Enhance and Edit Like a Pro
Raw photos are amazing. However, they often require some polish. Enhancing your photos will ensure aesthetic consistency and professional quality.
3.1 Edit in Batches
- Make use of editing software such as Adobe Lightroom or Snapseed to modify lighting, colour and sharpness.
- Apply presets or filters that are cohesive to create a consistent look throughout the album.
3.2 Crop to Focus on the Story
- Remove distractions from the background to emphasise the main object.
- You can create prominent lines in the composition you are creating by zooming into the composition strategically.
3.3 Preserve Original Versions
Always save a clean copy of every photo in the event you need to go back to the original. Backups can save time and help avoid possible errors.
Professional Tool Recommendation: Check out tools that offer AI-based recommendations for editing, like Topaz Photo AI, to make editing faster.
Step 4: Arrange Your Album for a Narrative Flow
Storytelling is the mainstay of any good album of photos. A well-planned sequence can transform individual images into a powerful, memorable experience.
4.1 Start with an Opening Statement
The first page is the one that sets the tone. Choose a picture that captures the theme, like a family photo or a scene from the vacation spot. Include a quote or a title If you wish.
4.2 Chronological Sequencing
Sort photos into an outline, particularly for milestone albums such as wedding albums or baby books. Each page is a step ahead.
4.3 Balance the Layout
Reduce clutter by using the number of photos to 2-4 per page to maintain an organised appearance. Combine full-page spreads with smaller photo clusters to give diversity.
4.4 Close with a Strong Ending
The feeling of closure is crucial. Make sure to highlight a reflective or celebration moment to end the story on a positive note.
Teoprint has minimalist photobooks that tell stories Simple and are perfect for getting an elegant appearance.
Step 5: Tools to Simplify the Process
Being organised can be a breeze when you have the proper tools. Incorporate these tools into your workflow.
5.1 Photo Organizing Apps and Software
| Software/Service | Best For | Approximate Cost |
| Smart Selection | cataloging & photo selection | Starting from $1 |
| Google Photos | Free cloud storage & categorization | Free/$1.99+ per month |
| Forever Storage | Permanent photo backups | $8-$12/month |
5.2 Physical Organization Aids
- Photo storage boxes with acid-free, non-toxic materials
- DIY scrapbooks using labelled sections
- Templates for photos that are pre-made via Teoprint.
Tips for Pros: Explore Teoprint’s website for ideas on personalised home decor using Photobooks for displaying the albums with flair.
Actionable Insights for Immediate Results
Do you feel inspired to tackle that photography chaos? Here’s how to start right away:
- Create a two-hour Sorting Session Spend two devoted hours to reorganise photos into one master folder, removing duplicates while you work.
- Definition of Album Themes Choose one of two categories (e.g. for example, a “Summer Adventures” album) and then begin separating images into these categories.
- Try Tools for Augmenting Photos: Explore platforms such as Canva to create layouts using grid templates, or use Teoprint to design customised collages.
- Maintain a Weekly Maintenance Schedule: Spend 30 minutes every week cleaning and tagging images. A consistent schedule prevents accumulation.
- Use Cloud Sync Services: Automate backups to ensure your memories are protected.
These steps are easy to manage and can be seen as progressing quickly.
Summing It Up
A well-organised photo album preserves memories for the next generation and tells compelling stories that are worth revisiting. By organising your photos, categorising them effectively and then transforming them into well-thought out layouts, you can create more than just albums. you create lasting memories. Teoprint provides a wealth of options to spark your creative side, ranging including customised collages of photos as well as enhanced AR photobooks.
Don’t delay in arranging. If it’s just a small undertaking or a family heirloom, The time to save the stories you’ve created is now. Begin organising your photos now and turn your photos into stories that will last.