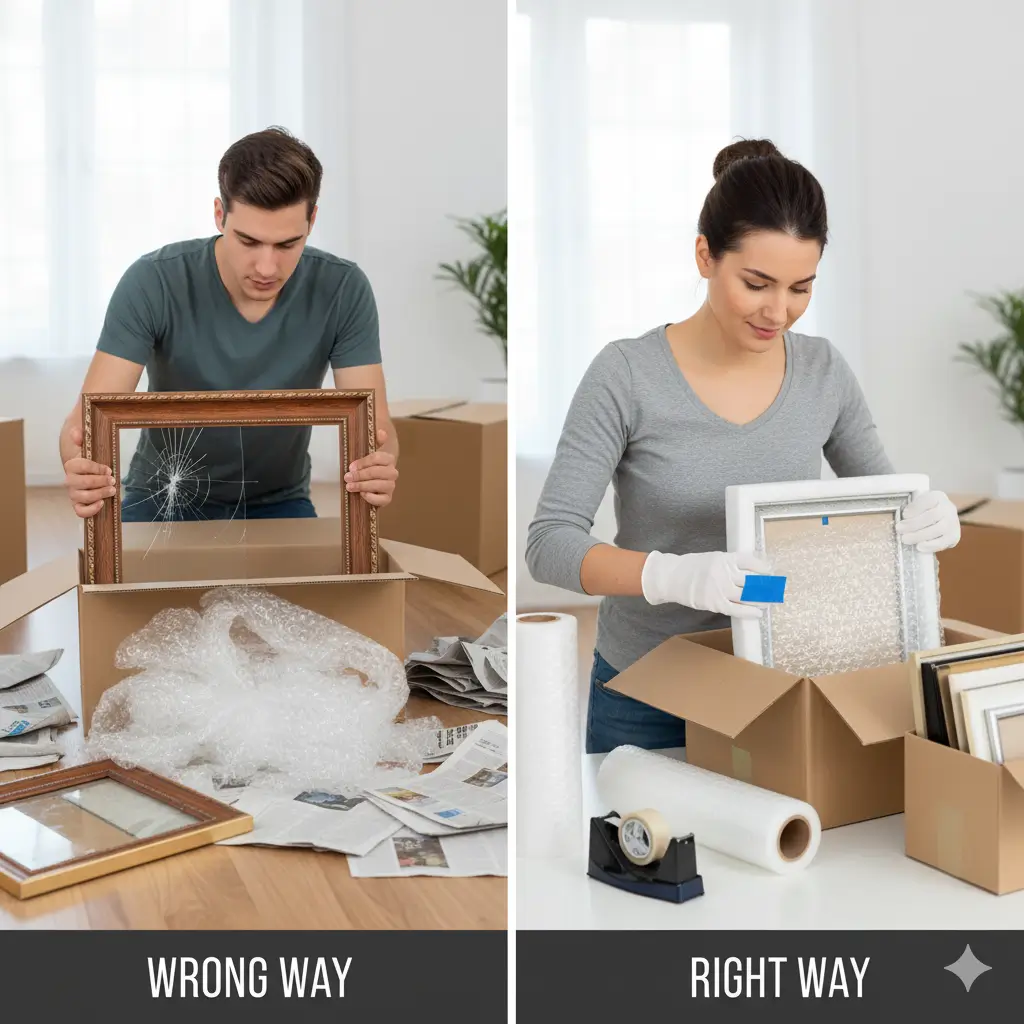
Moving to a new home is exciting, but protecting your cherished framed photos and artwork during the move can be a challenge. These pieces carry sentimental value and are often fragile. Packing them properly is key to avoiding cracked glass, scratched surfaces, or dented corners when you unpack at your new destination.
With the right packing techniques and materials, you can safeguard both your memories and your investment. This comprehensive guide will walk you through the most effective ways to pack photo frames for moving, so your art and photos arrive safely and ready to beautify your new space.
Gather Essential Packing Materials
The first step to successfully packing photo frames is gathering the right supplies. Avoid last-minute improvisation—adequate protection starts with quality materials.
Here’s what you’ll need:
- Picture Boxes: Telescoping boxes are invaluable for large frames and mirrors because they offer a custom fit and extra security. Sturdy moving boxes work for smaller frames.
- Bubble Wrap: Rolls with medium-sized bubbles provide cushioning against bumps and drops.
- Packing Paper or Glassine: Soft, acid-free, and moisture-resistant, especially important for valuable art prints.
- Cardboard Corner Protectors: These absorb impact and prevent chipping or denting, which is the most common damage for framed art. Discover more frame protection tips in our comprehensive design guide.
- Packing Tape: Use high-quality tape to seal both wraps and boxes.
- Permanent Markers: Clearly label boxes for quick identification.
For extra guidance on preparing your frames, see our tips for beautiful frames that ensure your collection is ready for transport.
Prepare Each Frame Before Packing
Take a few extra moments to prep your frames—it can make all the difference.
- Clean the Frame: Remove dust from the frame and clean the glass. This keeps debris from being trapped against the surface. For different materials, check out this guide to cleaning photo frames.
- Secure Hardware: Ensure hanging wires and backing tabs are secure and flat. Tape down any loose wires.
How to Wrap Photo Frames for Moving
The packing method you use depends on the frame size and whether there’s glass or acrylic glazing. Use these steps for the best results:
Small to Medium Frames (Under 11×14 inches)
- Tape the Glass: For glass-front frames, place masking or painter’s tape in a large “X” across the front. This helps contain shards if the glass breaks. Avoid taping acrylic fronts—tape can leave residue or cause damage.
- Wrap in Paper: Cover the entire frame with packing paper or glassine to protect the finish from bubble wrap scratches.
- Bubble Wrap: Place the frame face down and wrap with at least 1-2 inches of bubble wrap on all sides. Secure with tape.
- Boxing: Bundle 2-4 similarly sized frames together, if desired, after individual wrapping. Stand them upright in a sturdy box, like files in a cabinet. Never lay frames flat. Use packing paper or bubble wrap to fill gaps and prevent shifting.
Looking for the best materials or creative ideas? Visit creative designs for photo frames for inspiration.
Large Frames and Valuable Artwork (Over 11×14 inches)
- Protect the Glass: Create a tape “X” on glass surfaces only.
- Add Corner Guards: Slip on cardboard corner protectors.
- Create a Cardboard Sandwich: Cut two pieces of cardboard slightly larger than the frame. Place the frame in between and tape securely for rigid support.
- Wrap in Bubble Wrap: Double-wrap the cardboard sandwich for extra protection.
- Use a Picture Box: Carefully slide everything into a picture box. If there are gaps, fill them with bubble wrap or soft material. For extremely valuable items, a custom crate may be needed—consult a professional moving service.
For additional ways to protect and enhance large pieces, see the resource on framing canvas art.
Label Your Boxes Clearly
Proper labeling helps ensure gentle handling and easy unpacking:
- Write “FRAGILE – GLASS” on all sides.
- Indicate “THIS SIDE UP” using arrows.
- Add room/location details, such as “[Living Room Gallery Wall Photos].”
Be sure to brief your movers on the boxes containing fragile photo frames.
Unpacking and Reframing in Your New Home
Once moved, let the boxes acclimatize for at least 24 hours before opening. This prevents condensation, which can damage artwork. Unwrap carefully, watching for any potential broken glass.
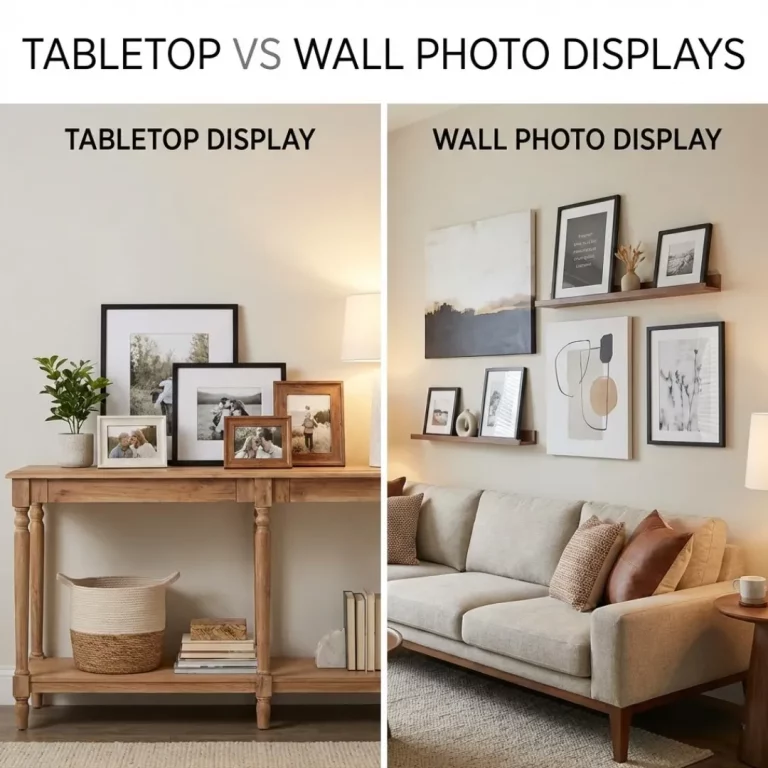
Moving is a great opportunity to reimagine your display. Consider whether your existing frames fit your new style, or explore upgrading to frames with UV protection and new designs for better preservation.
If you’re interested in other innovative display or hanging ideas, explore our guide to damage-free hanging or see how to arrange a wall painting set for maximum impact.
Packing photo frames with care and attention helps preserve more than just the materials—it keeps your memories intact. With the right materials and careful steps, your photos and art will be ready to make your new house truly feel like home.