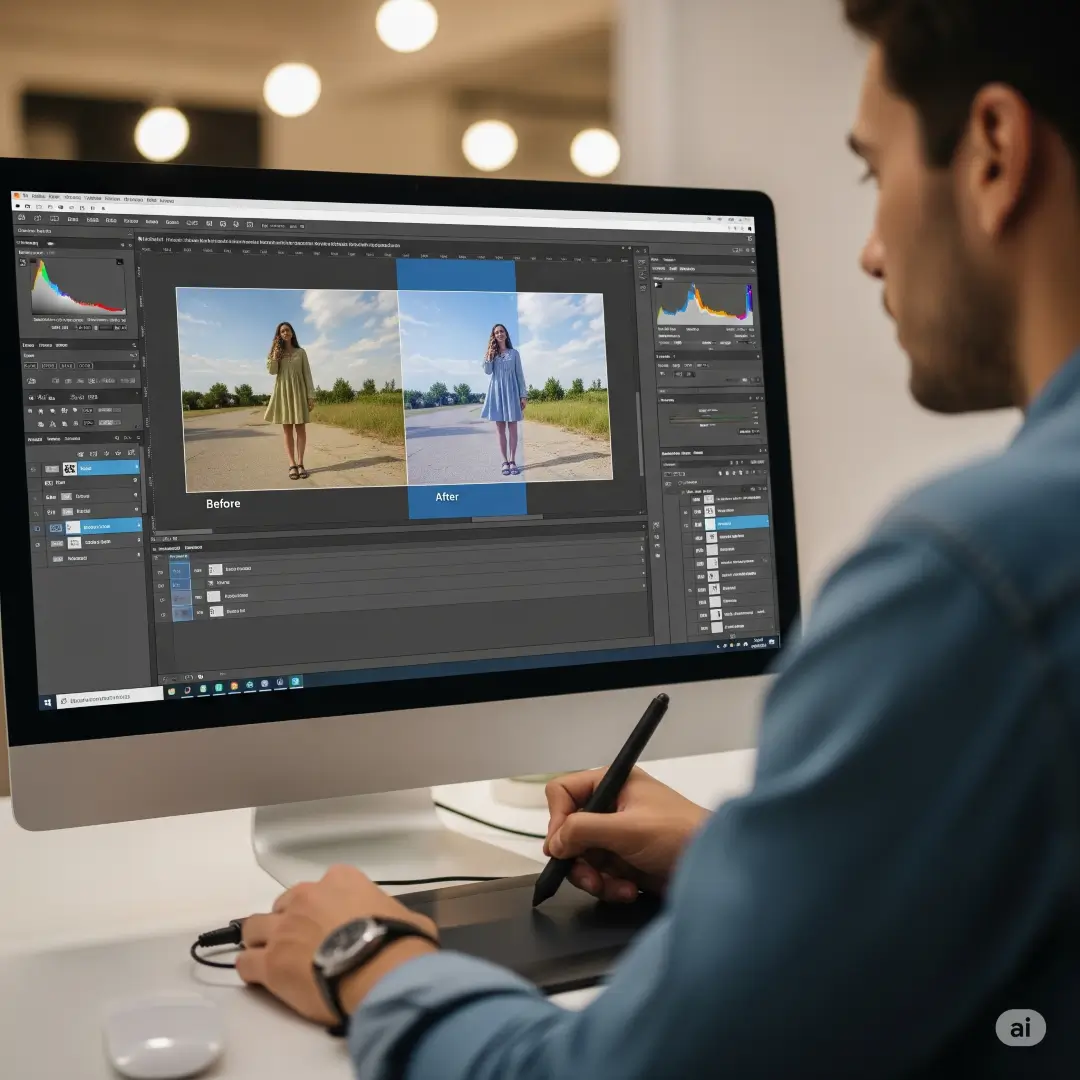
Creating high-quality, professional-looking photos has never been more accessible. With the right online tools and techniques, you can transform ordinary images into stunning visuals that rival those produced by professional photographers. Whether you’re enhancing family portraits, product shots, or creative projects, learning to make professional photo online opens up endless possibilities for both personal and business use.
The digital photography revolution has democratised professional photo editing, making sophisticated tools available to everyone with an internet connection. Gone are the days when you needed expensive software or years of training to create polished, magazine-worthy images. Today’s online photo editing platforms combine powerful features with intuitive interfaces, allowing anyone to achieve professional results quickly and efficiently.
This comprehensive guide will walk you through everything you need to know about creating professional photos online, from selecting the right tools to mastering advanced editing techniques that will elevate your images to the next level.
Understanding Professional Photo Quality
Before diving into the tools and techniques, it’s essential to understand what makes a photo look professional. Professional photos typically exhibit several key characteristics that distinguish them from amateur snapshots.
Technical Excellence
Professional photos demonstrate superior technical quality through proper exposure, sharp focus, and minimal noise. The lighting appears balanced and flattering, whilst colours remain vibrant yet natural-looking. These technical elements form the foundation of any professional image.
Composition and Framing
Strong composition follows established principles like the rule of thirds, leading lines, and balanced elements. Professional photos also maintain clean, distraction-free backgrounds that complement rather than compete with the main subject.
Post-Processing Sophistication
Professional photos undergo careful post-processing that enhances the image without appearing overdone. This includes colour correction, contrast adjustments, and selective enhancements that bring out the best in every photograph.
Essential Online Photo Editing Tools
Free Professional Photo Editors
Canva Photo Editor
Canva’s photo editor offers an excellent starting point for beginners who want to make professional photo online. The platform provides automatic enhancement features, background removal tools, and a vast library of filters and effects. Its drag-and-drop interface makes complex editing tasks accessible to users at any skill level.
GIMP Online
The online version of GIMP (GNU Image Manipulation Program) brings professional-grade editing capabilities to your browser. This powerful tool offers layers, advanced selection tools, and extensive colour correction options that rival desktop software.
Photopea
Photopea functions as a free alternative to Photoshop, running entirely in your web browser. It supports PSD files and offers professional features like layer masks, blend modes, and advanced filters. The interface closely mimics Photoshop, making it ideal for users familiar with Adobe’s ecosystem.
Premium Online Photo Editors
Adobe Photoshop Express
Adobe’s online photo editor provides professional-grade tools with cloud integration. Features include automatic sky replacement, subject selection, and advanced colour grading tools that help create consistently professional results.
Pixlr
Pixlr offers both basic and advanced editing modes, catering to different skill levels. The platform excels at batch processing, making it ideal for users who need to edit multiple photos consistently.
Fotor
Fotor combines artificial intelligence with traditional editing tools to streamline the professional photo creation process. Its AI-powered features can automatically enhance portraits, remove backgrounds, and apply professional-looking effects.
Step-by-Step Guide to Creating Professional Photos Online
Phase 1: Preparation and Setup
Image Selection and Upload
Begin by selecting high-resolution images (at least 1920×1080 pixels) for best results. Upload your photos to your chosen editing platform, ensuring you work with the original file format when possible. RAW files provide the most flexibility for professional editing.
Workspace Organisation
Organise your editing workspace by creating folders for different projects and maintaining consistent naming conventions. This professional approach saves time and ensures you can easily locate specific images during the editing process.
Phase 2: Basic Adjustments
Exposure and Brightness
Start with global adjustments to exposure and brightness. Professional photos maintain detail in both highlights and shadows, so use these controls to achieve balanced lighting throughout your image.
Contrast and Clarity
Adjust contrast to add depth and dimension to your photos. Increase clarity selectively to enhance important details without creating an over-processed appearance.
Colour Temperature and Tint
Correct colour temperature to ensure accurate skin tones and natural-looking colours. Professional photos maintain consistent colour temperature throughout, creating a cohesive visual experience.
Phase 3: Advanced Enhancements
Selective Adjustments
Use masking tools to apply adjustments to specific areas of your image. This technique allows you to enhance the subject whilst maintaining natural-looking backgrounds, a hallmark of professional photography.
Skin Retouching
For portrait photography, apply subtle skin retouching using healing and cloning tools. Professional retouching enhances natural beauty without creating an artificial appearance.
Background Refinement
Clean up distracting background elements using content-aware tools or background replacement features. Professional photos maintain focus on the main subject through careful background management.
Professional Photo Enhancement Techniques
Colour Grading and Tone Mapping
Creating Mood Through Colour
Professional photos often employ subtle colour grading to create specific moods or match brand aesthetics. Use colour wheels and tone curves to apply consistent colour treatments across your images.
Highlight and Shadow Recovery
Recover detail in overexposed highlights and underexposed shadows using dedicated recovery tools. This technique helps maintain the full dynamic range that characterises professional photography.
Sharpening and Noise Reduction
Output Sharpening
Apply appropriate sharpening based on your intended output format. Web images require different sharpening settings than print photos, so adjust accordingly for optimal results.
Noise Management
Reduce digital noise whilst preserving important image details. Professional photos maintain smooth gradations in skin tones and skies whilst retaining crisp details in textures and edges.
Specialised Photo Types and Techniques
Portrait Photography Enhancement
Eye Enhancement
Professional portraits feature bright, engaging eyes. Use selective adjustments to brighten the whites of the eyes and enhance iris detail whilst maintaining natural colours.
Teeth Whitening
Apply subtle teeth whitening using brush tools and opacity controls. Professional retouching enhances natural tooth colour without creating an artificial appearance.
Product Photography Optimisation
Background Consistency
Maintain consistent white or transparent backgrounds across product images. This professional approach creates cohesive online catalogues and marketing materials.
Shadow and Reflection Management
Add or remove shadows and reflections to create professional-looking product photography. These elements help ground objects and create visual interest.
Landscape Photography Enhancement
Sky Replacement
Use AI-powered sky replacement tools to create dramatic landscape images. Professional landscape photography often features compelling skies that complement the foreground elements.
Graduated Filters
Apply graduated filters to balance exposure between sky and landscape. This technique replicates the effect of physical filters used by professional photographers.
Advanced Professional Techniques
Layer-Based Editing
Non-Destructive Workflow
Professional editors use layer-based editing to maintain flexibility throughout the editing process. This approach allows you to make changes without permanently altering the original image.
Blend Modes and Opacity
Master blend modes to create sophisticated effects and corrections. Professional photos often combine multiple adjustment layers using different blend modes to achieve complex looks.
Batch Processing and Consistency
Action Recording
Record editing actions to apply consistent processing across multiple images. This professional approach ensures brand consistency and saves significant time on large projects.
Preset Development
Create custom presets for different photo types and lighting conditions. Professional photographers develop signature looks through consistent preset application.
Quality Control and Output Optimisation
Professional Review Process
Zoom-In Inspection
Review your edited photos at 100% magnification to identify any artifacts or processing errors. Professional photos maintain quality at all viewing distances.
Colour Accuracy Verification
Check colour accuracy using calibrated monitors or colour-checking tools. Professional photos maintain consistent colours across different devices and media.
Output Format Optimisation
Web Optimisation
Optimise photos for web use by balancing file size with image quality. Professional web images load quickly whilst maintaining visual impact.
Print Preparation
Prepare images for print by adjusting resolution, colour space, and sharpening settings. Professional prints require different optimisation than digital display formats.
Troubleshooting Common Issues
Overcoming Technical Challenges
Slow Processing Speed
If online editors run slowly, try reducing image resolution during editing and only upscaling for the final output. This approach maintains editing speed whilst preserving final quality.
Limited Tool Access
Free online editors may restrict access to advanced tools. Consider upgrading to premium versions or using multiple free platforms to access different features.
Avoiding Common Mistakes
Over-Processing
Professional photos appear natural despite extensive editing. Apply adjustments gradually and regularly compare with the original image to avoid over-processing.
Inconsistent Editing
Maintain consistent editing styles across related images. Professional photo sets demonstrate cohesive visual treatment throughout.
Transform Your Photography with Professional Online Tools
The ability to make professional photo online has revolutionised digital photography, making high-quality image creation accessible to photographers at every level. By mastering the tools and techniques outlined in this guide, you can transform ordinary photos into professional-quality images that stand out in an increasingly visual world.
Professional photo editing requires patience, practice, and attention to detail. Start with basic adjustments and gradually incorporate advanced techniques as your skills develop. Remember that the best professional photos enhance natural beauty rather than completely transforming the original image.Ready to start creating professional photos online? Visit our frame sizes guide to learn how to display your enhanced images beautifully, or explore our large photo frames collection to showcase your professional creations in style.


