You’re back from an amazing trip with a camera roll full of breathtaking landscapes, delicious food, and happy moments. Now what? Leaving those photos to get lost in your phone’s gallery feels like a waste. While you could post a few online, you want a more permanent way to celebrate your adventure.
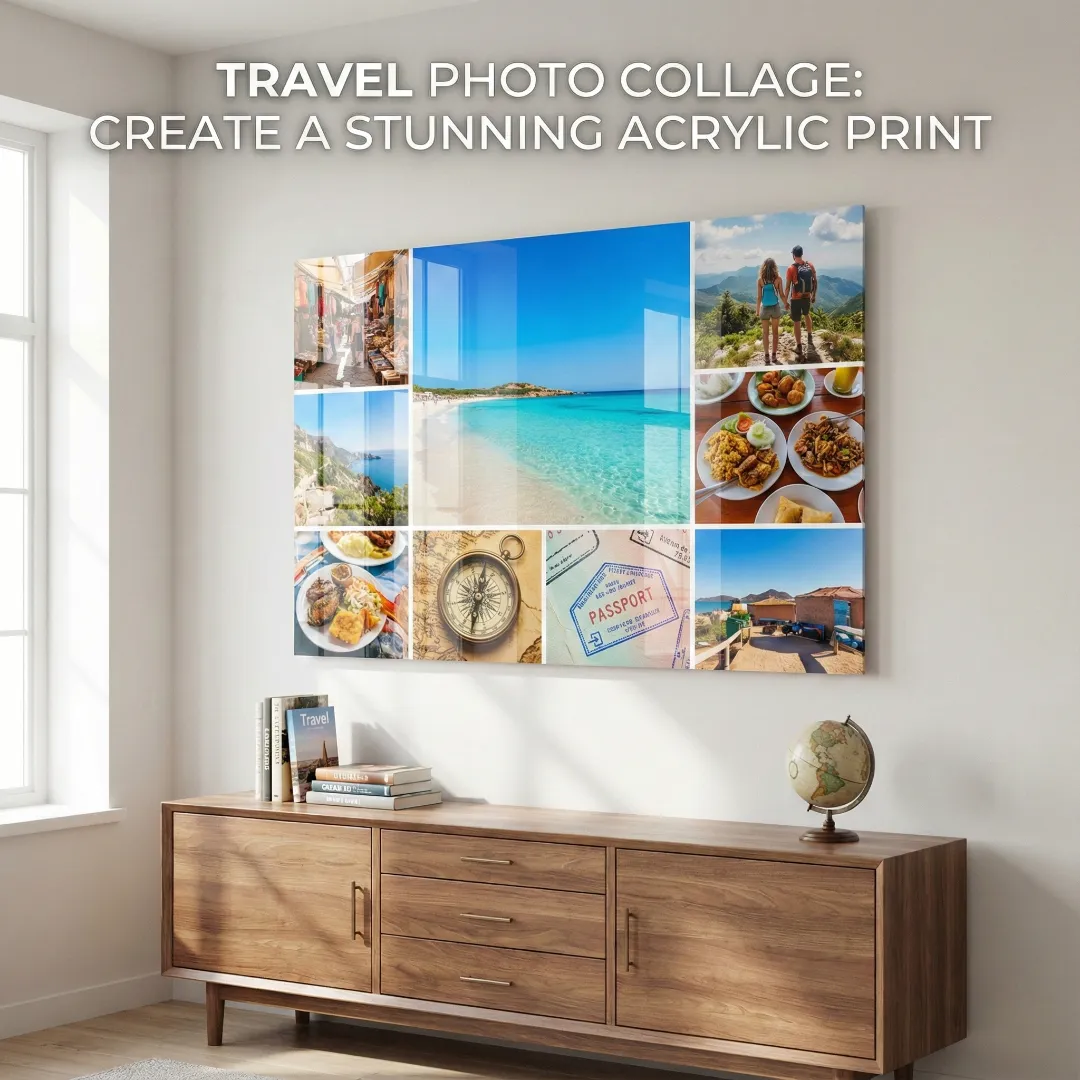
Creating a travel photo collage is the perfect solution, but a wall full of frames isn’t always practical. Instead, imagine combining your favorite shots into a single, stunning acrylic print. This guide will show you how to design a beautiful travel collage and turn it into a modern piece of art that keeps your wanderlust alive every day.
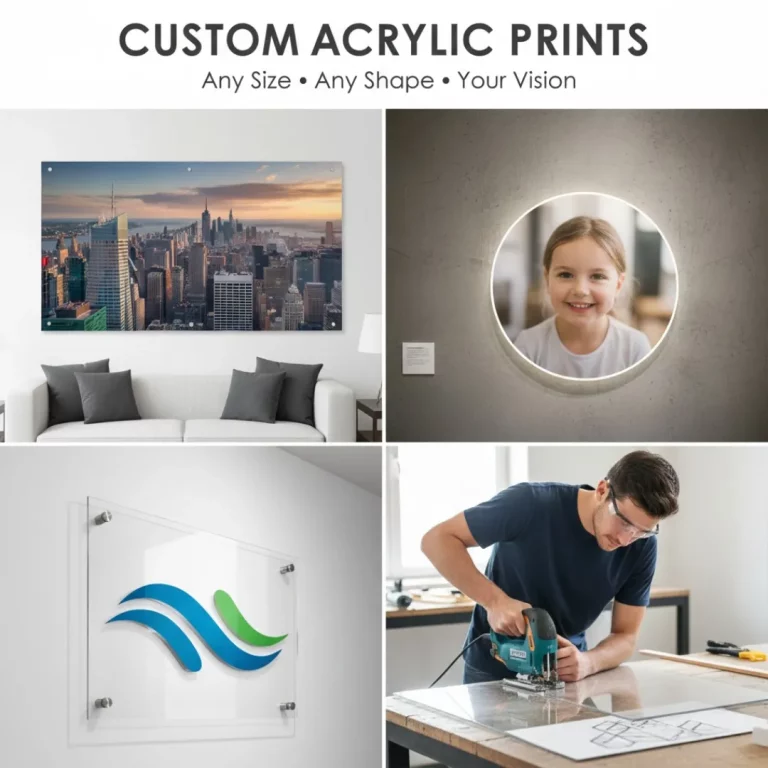
Why an Acrylic Print is Perfect for Your Travel Photo Collage
Before we get into the design, let’s talk about why an acrylic print is the ideal medium for your travel memories. An acrylic print isn’t just a photo; it’s a high-end piece of decor. The image is printed onto a sheet of polished acrylic, which creates a vibrant, almost three-dimensional effect.
Key benefits of an acrylic print for your collage:
- Vibrant Colors: Acrylic makes colors pop, so the turquoise of the ocean and the green of the jungle will look incredibly vivid.
- Modern, Frameless Look: The sleek, borderless design is contemporary and ensures your photos are the main event.
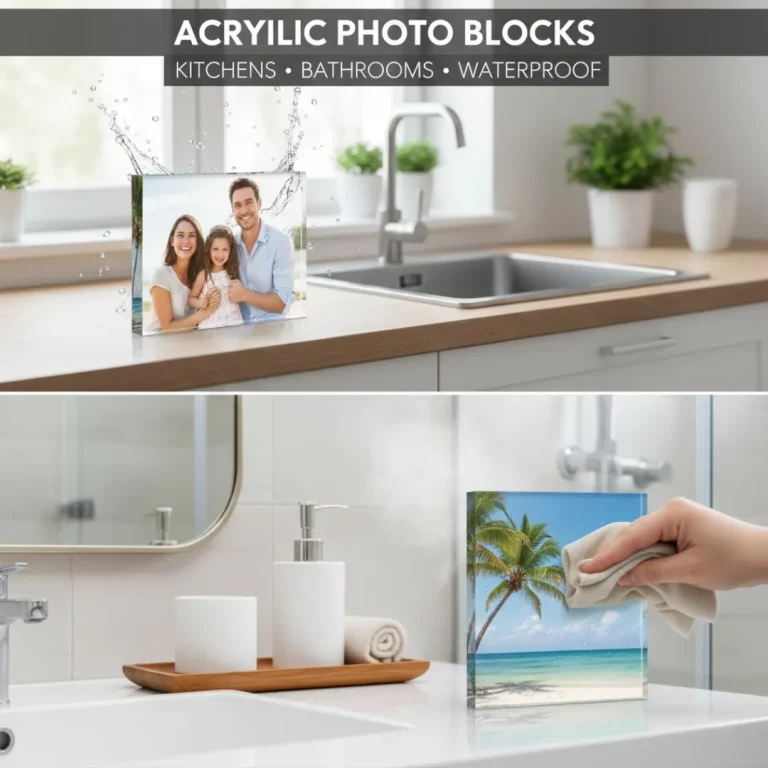
- Durability: Acrylic is shatter-resistant and easy to clean, protecting your memories for years to come.
- Depth and Dimension: The material adds a layer of depth that makes your collage feel more immersive and dynamic.
Step 1: Curating Photos for Your Travel Collage
The first step is the most fun: reliving your trip by going through your photos. A great travel photo collage tells the story of your vacation. To do this, you need a balanced mix of pictures.
What to Include in Your Collage:
- The Hero Shot: Choose one spectacular landscape or an amazing portrait to be the largest, most central image. This will be the focal point.
- The Scenery: Include a few wide shots of the landscapes, cityscapes, or beaches that defined your destination.
- The People: Don’t forget photos of you, your family, or friends enjoying the trip. Candid shots often work best.
- The Details: Small moments make a trip special. Include photos of unique architecture, interesting signs, local food, or a close-up of a seashell you found.
- The Action Shots: Photos of you hiking, swimming, or exploring add energy and movement to the collage.
Pro-Tip: As you select photos, try to pick images with a consistent color palette. For example, you could group together photos with warm sunset tones or cool blue ocean hues. This will make your final collage feel more cohesive and professional.
Step 2: Designing Your Collage Layout
With your photos selected, it’s time to think about the arrangement. The layout of your travel photo collage sets the tone and tells the story.
The Grid Layout
A classic for a reason, the grid is clean, organized, and easy on the eyes. It’s perfect for a modern home. You can use a symmetrical grid of squares or rectangles for a balanced feel. For a more dynamic grid, try mixing different sizes and orientations of photos.
The Freestyle Layout
This layout mimics the look of a scrapbook, with photos overlapping in a more organic, “scattered” arrangement. It’s a playful and personal style that works well for a collection of fun, candid snapshots.
The Storyline Layout
Arrange your photos to tell the story of your trip from beginning to end. This narrative approach is highly engaging and is one of the best chronological photo frame wall ideas for storytelling. Start with a photo from day one and move through your adventures in order.
| Layout Style | Best For | Design Tip |
| Grid | A clean, modern, and organized look. | Keep spacing even for a polished feel. |
| Freestyle | A fun, playful, and personal vibe. | Overlap photos and vary angles. |
| Storyline | Telling the narrative of your journey. | Arrange photos from left to right. |
You can use a free online collage maker like Canva to experiment with these layouts before committing. Just upload your photos and drag them around until you find an arrangement you love.
Step 3: Preparing Your Collage for Printing
Once your design is finalized, there are a few technical details to check to ensure your acrylic print looks amazing.
Resolution is Everything
The most important factor for a sharp, clear print is image resolution. Your final collage file should be high resolution, ideally 300 DPI (dots per inch). If your images are low quality, they will look blurry or pixelated when printed, especially on a large acrylic print.
Choosing the Right Size and Shape
Think about where you want to hang your travel photo collage. A large, panoramic collage would look incredible over a sofa, while a square collage might be perfect for a smaller wall. Knowing where it will go can help you decide on the final dimensions. Properly placed art makes a huge difference, so review some frame placement tips before you order.
To Frame or Not to Frame?
The beauty of an acrylic print is its frameless design. However, some people prefer a finished edge. A “floating frame” is a great option. This is a frame that sits behind the acrylic print, making it look like it’s hovering inside the frame without touching the edges. This can be a great way to elevate your photographic prints even further.
Pro-Tip: If your collage will hang in a very bright room, consider a non-glare or matte finish. While the high-gloss look of acrylic is stunning, a matte surface can help reduce reflections from lights and windows.
Conclusion: Keep Your Adventures on Display
Your travel memories are too precious to be forgotten on a hard drive. By creating a custom travel photo collage on a single acrylic print, you can turn those moments into a beautiful, modern piece of art that serves as a daily source of inspiration. It’s a stunning way to honor your past adventures and fuel your dreams for the next one.
So, gather your favorite vacation photos, start designing, and get ready to transform your home with a keepsake that is as unique as your journey.
Ready to create your masterpiece? Explore our custom acrylic prints and bring your travel collage to life.
Frequently Asked Questions (FAQ)
Q: How many photos should I use in a travel photo collage?
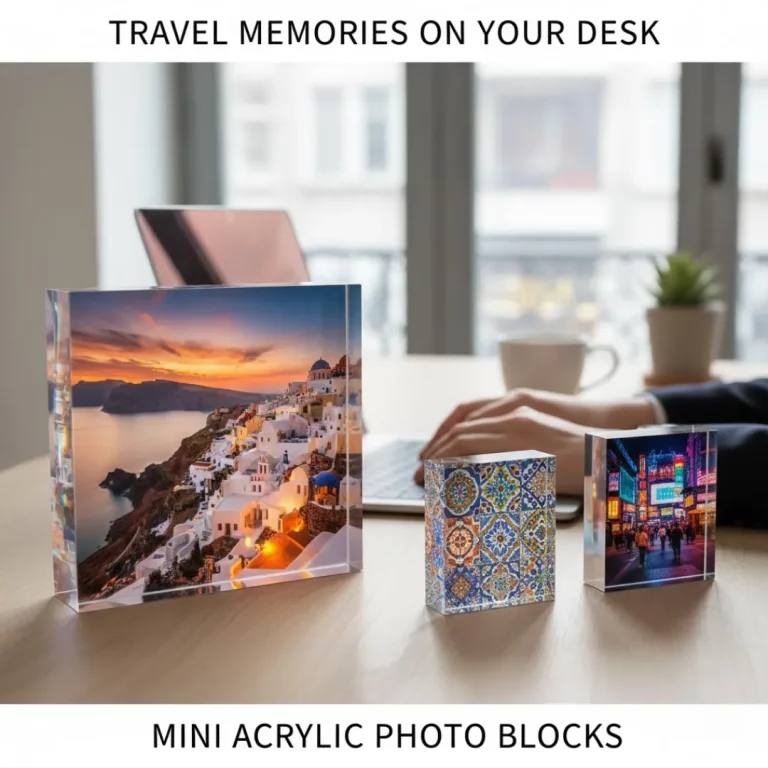
A: It depends on the size of the print and the layout. For a clean look, aim for 8 to 15 photos. This is enough to tell a story without overwhelming the viewer. For smaller prints, you might use fewer photos, similar to these 2-photo and 3-photo frame ideas.
Q: What is the best way to design a travel collage?
A: Using a free online tool like Canva or Fotor is the easiest way. These platforms have pre-made collage templates that you can use. Simply upload your photos, drag them into the layout, and customize the design until you’re happy with it.
Q: What resolution do my photos need to be for a large acrylic print?
A: For the best quality, your photos should be as high-resolution as possible, at least 300 DPI at the intended print size. Always use the original, full-size files from your camera or phone, not compressed versions from social media.
Q: Should I edit my photos before putting them in a collage?
A: Yes, it’s a good idea to do some basic edits. Ensure the brightness, contrast, and colors are consistent across all the photos. This will give your final collage a more professional and cohesive look.
Q: Is an acrylic print better than a canvas print for a collage?
A: Both are great options, but they offer different styles. Acrylic provides a modern, sleek, and vibrant look with sharp details. Canvas offers a softer, more traditional, textured feel. For a travel collage with vivid landscapes, acrylic often enhances the colors more effectively.
Q: How is a travel collage different from a travel photo album?
A: A photo album is a comprehensive collection for storage, while a collage is a curated piece of wall art for display. Deciding between photo frames vs. photo albums is about choosing between private viewing and public display. Many people enjoy having both.Q: Can I create a collage with photos from different trips?
A: Absolutely! A collage featuring your favorite moment from every trip you’ve ever taken can be an incredible “greatest hits” piece of art. To make it cohesive, you could convert all the photos to black and white or use a consistent grid layout.