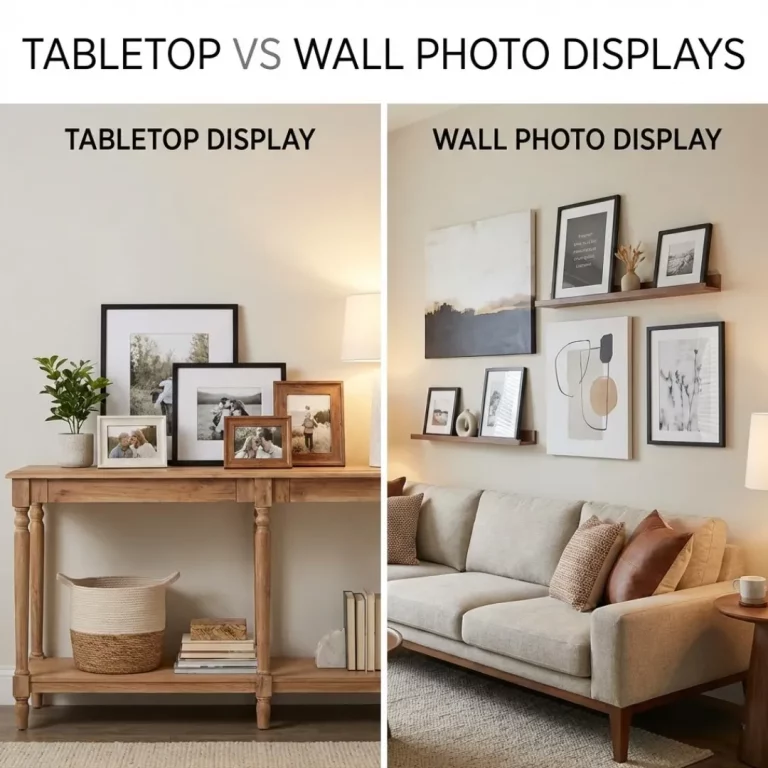
We all have photos we love, but finding the right way to display them can be a challenge. Traditional picture frames are a classic choice, but they can be expensive, bulky, and may not fit with a modern decor style. Sometimes you just want a simple, creative way to show off a picture without the commitment of a heavy frame.
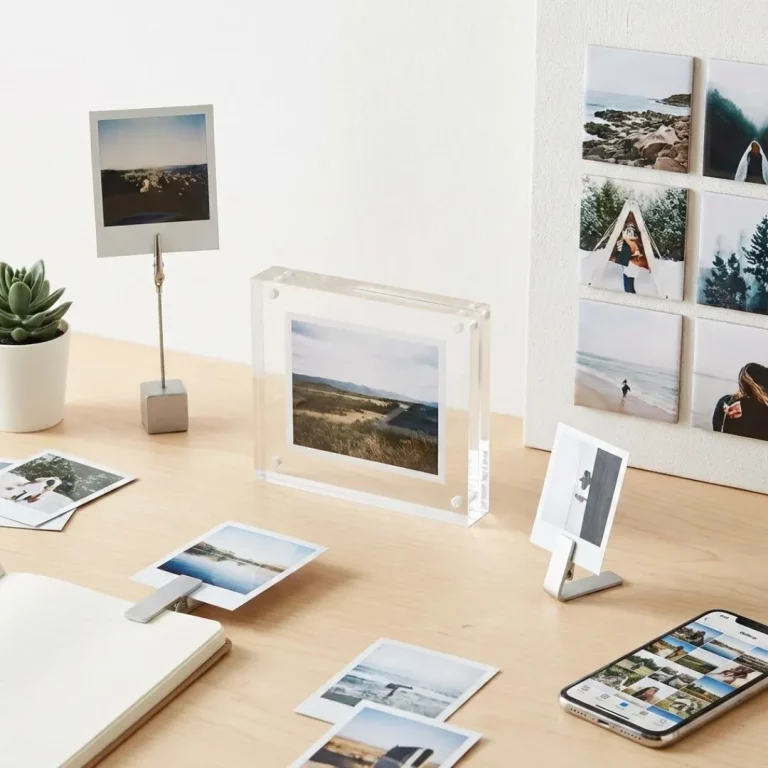
A DIY photo stand is the perfect solution. It’s a simple, often minimalist, holder designed to prop up a photo print on its own. These stands are easy to make, highly customizable, and add a touch of personality to your desk, shelf, or mantelpiece.
If you’re ready to free your photos from their framed prisons, this guide is for you. We’ll explore several easy and stylish DIY photo stand ideas that you can make in minutes using simple materials.
Why Choose a DIY Photo Stand?
Before we get crafty, let’s look at why a homemade photo stand is such a great choice for your pictures.
- Minimalist Aesthetic: A simple stand puts the focus entirely on the photograph, not the border around it. This clean look is very popular in modern interior design.
- Cost-Effective: You can often make a stylish stand for a fraction of the cost of a store-bought frame.
- Easy to Swap Photos: Most DIY stands make it effortless to change the picture you’re displaying, allowing you to refresh your decor regularly.
- Customizable: You can paint or decorate your stand to perfectly match your room’s color scheme.
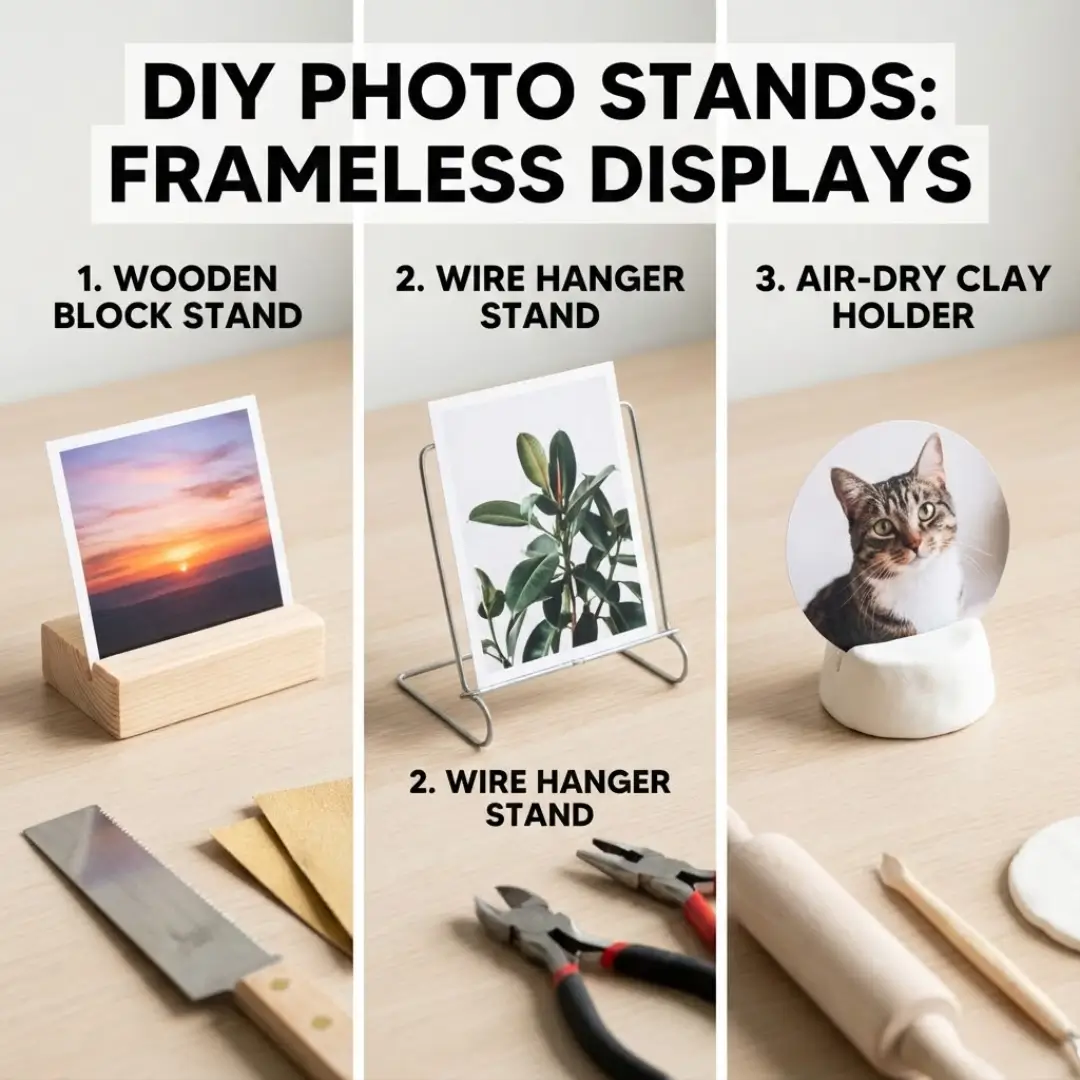
1. The Simple Wooden Block Stand
This is one of the easiest and most popular DIY photo stand designs. It has a rustic yet modern charm that works with almost any decor.
What You’ll Need:
- A small block of wood (a 2×2 or 2×4 scrap works perfectly)
- A hand saw or miter saw
- Sandpaper (medium grit)
- A ruler and pencil
Instructions:
- Cut Your Block: Cut your wood block to your desired length. A 4 to 6-inch length is a good starting point for a standard 4×6 or 5×7 photo.
- Mark Your Groove: Use your ruler to draw a line down the center of the block. This will be the groove that holds your photo.
- Cut the Groove: Carefully set your saw to a shallow depth (about 1/4 to 1/2 inch). Cut a slit along the line you marked. You may need to make a second pass right next to the first one to make the groove wide enough for a photo print.
- Sand It Smooth: Use the sandpaper to smooth all the edges and surfaces of the block, paying special attention to the inside of the groove so it doesn’t scratch your photo.
Pro-Tip: For this project, use a sturdy, unmounted photo print. You can paint the wooden block, stain it, or leave it natural for a raw, organic look. This is a great way to create a stylish desk display in a home office or even for acrylic decor for businesses.
2. The Upcycled Wire Hanger Stand
This clever idea turns a simple wire hanger into an elegant and modern photo stand. It’s perfect for a minimalist, industrial look.
What You’ll Need:
- A metal wire coat hanger
- Wire cutters
- Pliers (flat-nose or needle-nose)
Instructions:
- Cut the Wire: Use your wire cutters to snip off the straight bottom section of the hanger. You should have a piece of wire about 12-15 inches long.
- Find the Center: Bend the wire in half to find the center point, then straighten it back out.
- Create the Base: Using your pliers, bend the wire upwards at a 90-degree angle about 3-4 inches from each end. This will create the two “feet” of the stand.
- Form the Holder: At the center point, create a small, decorative loop or swirl that will hold the bottom of your photo and lean it back slightly. You can get creative here—a simple circle or even a heart shape works well.
This delicate photo stand is perfect for showcasing single prints on a nightstand or as part of a larger shelf display. The elegant design is great for displaying special memories, like romantic acrylic photo displays or wedding photos.
3. The Air-Dry Clay Holder
If you enjoy working with your hands, an air-dry clay photo stand offers endless possibilities for custom shapes and colors.
What You’ll Need:
- Air-dry clay
- A knife or craft tool
- A small rolling pin or smooth bottle
- Acrylic paint and a brush (optional)
Instructions:
- Shape Your Base: Roll a piece of clay into a ball, then flatten it into your desired base shape—a circle, square, or even a half-moon are great options. Make sure it’s about half an inch thick so it’s stable.
- Create the Slit: While the clay is still soft, use your knife to press a clean slit into the top of the base. It should be deep enough to hold the photo securely but not go all the way through.
- Let It Dry: Follow the instructions on your clay’s packaging to let the stand dry completely. This can take 24-48 hours.
- Decorate: Once dry, you can leave your photo stand with its natural finish or paint it to match your decor. A metallic gold or simple white looks incredibly chic.
This project is fun to do with kids and is a fantastic way to display their artwork. Its handmade feel adds a warm, personal touch to any room.
No-DIY Professional Alternatives
If DIY isn’t your style, you can still achieve a frameless look. The best professional alternative is an acrylic photo block. These are thick, freestanding blocks of acrylic that make your photo appear to be floating in glass. They offer a similar minimalist aesthetic to a DIY photo stand but with a high-end, gallery-quality finish. There are many stunning ways to use acrylic photo frames and blocks to elevate your decor.
Conclusion
Displaying your favorite photos shouldn’t require a bulky, expensive frame. With a little creativity and some basic materials, you can create a unique and stylish photo stand that puts your memories in the spotlight. Whether you prefer the rustic charm of a wooden block or the modern elegance of a wire stand, these DIY projects are a fantastic way to personalize your space.
So, gather your favorite prints, pick a project that inspires you, and start creating a display that is as unique as the moments it holds.
Frequently Asked Questions (FAQ)
Q: What kind of photo print works best for a DIY photo stand?
A: A sturdy, unmounted photo print works best. Prints on thick cardstock or premium photo paper will stand up straight without bending. Avoid thin, flimsy prints. For a more durable option, you can get your photo printed directly on a thin sheet of acrylic or a foam board.
Q: How do I keep my wooden photo stand from tipping over?
A: Make sure the base of your wood block is wide enough to be stable. A block made from a 2×4 is more stable than one made from a thin piece of craft wood. Also, don’t make the groove too deep, as this can make the stand top-heavy.
Q: Can I use these stands for things other than photos?
A: Absolutely! A DIY photo stand is also perfect for holding postcards, small art prints, recipe cards in the kitchen, or even business cards on your desk. For more professional office displays, you might consider acrylic displays for office lobbies.
Q: How do I clean my DIY stand?
A: For a wooden or clay stand, a simple dusting with a dry cloth is usually sufficient. For a wire stand, you can wipe it with a damp cloth if needed. Avoid submerging unsealed wood or clay in water.
Q: Where can I get inspiration for my photo stand design?
A: Look at current decor trends for inspiration. Minimalist and Scandinavian designs often feature natural wood and simple shapes. You can also look at the latest acrylic decor trends for ideas on modern, frameless displays.
Q: What if I’m not good at DIY projects?
A: If DIY isn’t for you, an acrylic photo block is the perfect alternative. It gives you the same modern, frameless look as a DIY photo stand but with a professional, high-end finish. They are incredibly durable and make a great gift.
Q: Can I use a DIY stand for awards or certificates?
A: While a simple stand can work, for something more formal like an award, you might want a more prestigious option. There’s a big difference between a DIY stand and professional acrylic plaques for awards, which are designed to feel substantial and celebratory.